I got the chance to spend a week driving from coast to coast with my parents last summer. We started just north of Seattle, took Route 2 across Washington, Idaho, Montana, North Dakota, Minnesota, and Wisconsin, then went across the UP and drove down through Michigan, then across Ohio and Pennsylvania on I-80 to NYC.

Day 1: Bellingham to Coeur dâAlene

We left Bellingham after meeting a friend for an early lunch and decided to cross Washington all in one day. It went like this: The Cascades, apple orchards, then endless wheat fields. Somewhere in the middle of apple country we found an awesome burger shack and decided to stop for dinner. The cheeseburger and a banana shake hit the spot.


We thought weâd drive to Spokane and just Priceline a hotel when we got there. Rookie mistake. Since it was the summer season and there was an unforeseen issue at the airport that grounded all flights, literally every hotel within 50 miles was booked. Even the casinos were booked. Thankfully, some gracious friends from college, the Herseys, offered to let us stay with them an hour away in Coeur dâAlene, ID.
Days 2â3: Coeur dâAlene to Glacier &Â Waterton

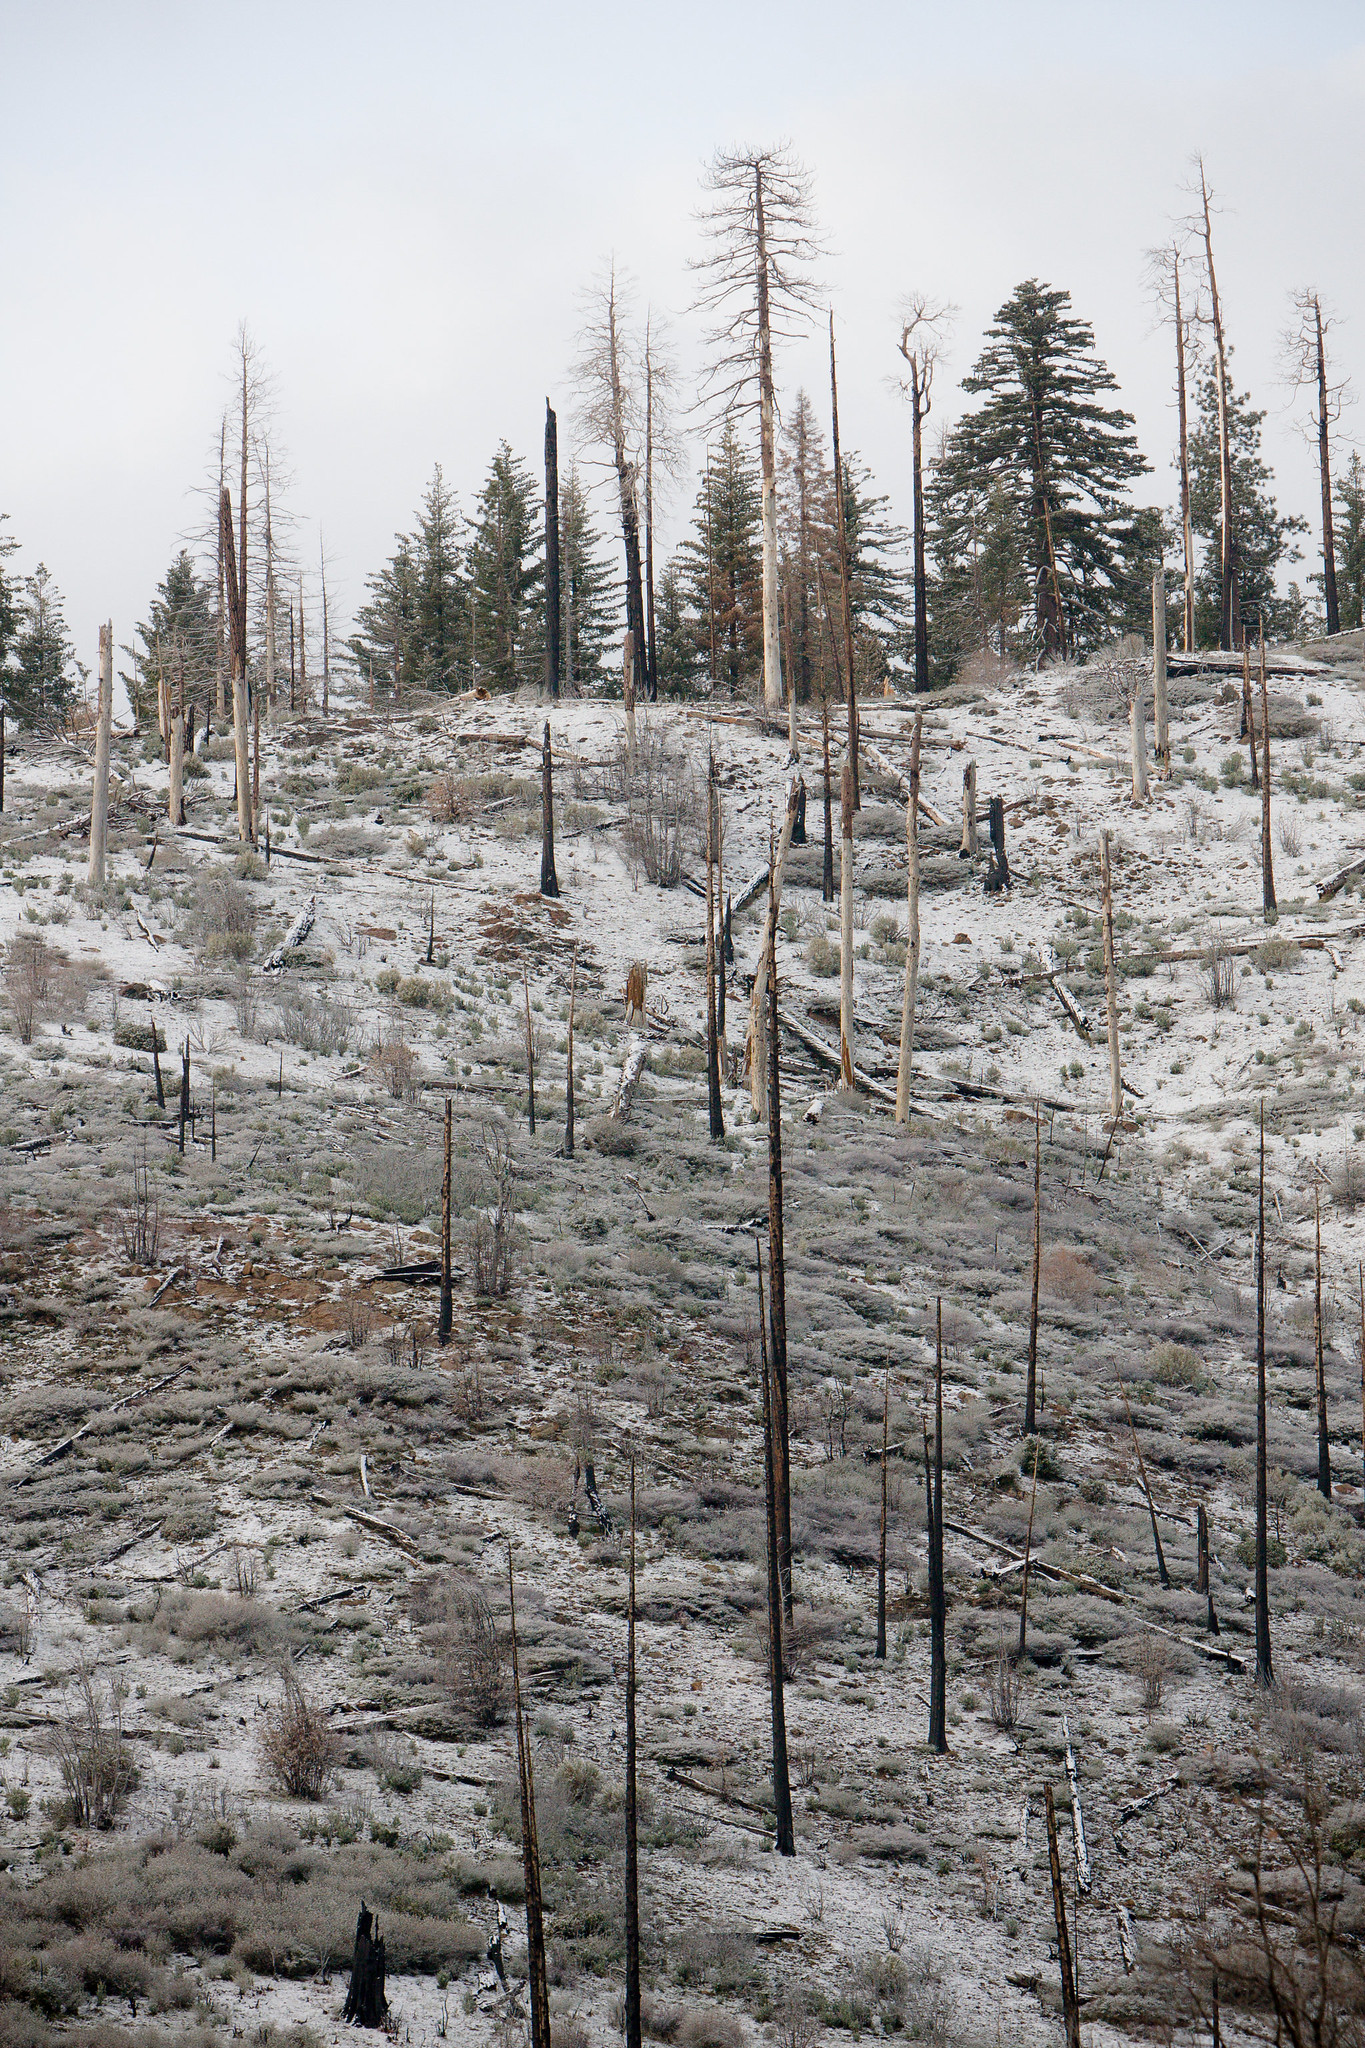
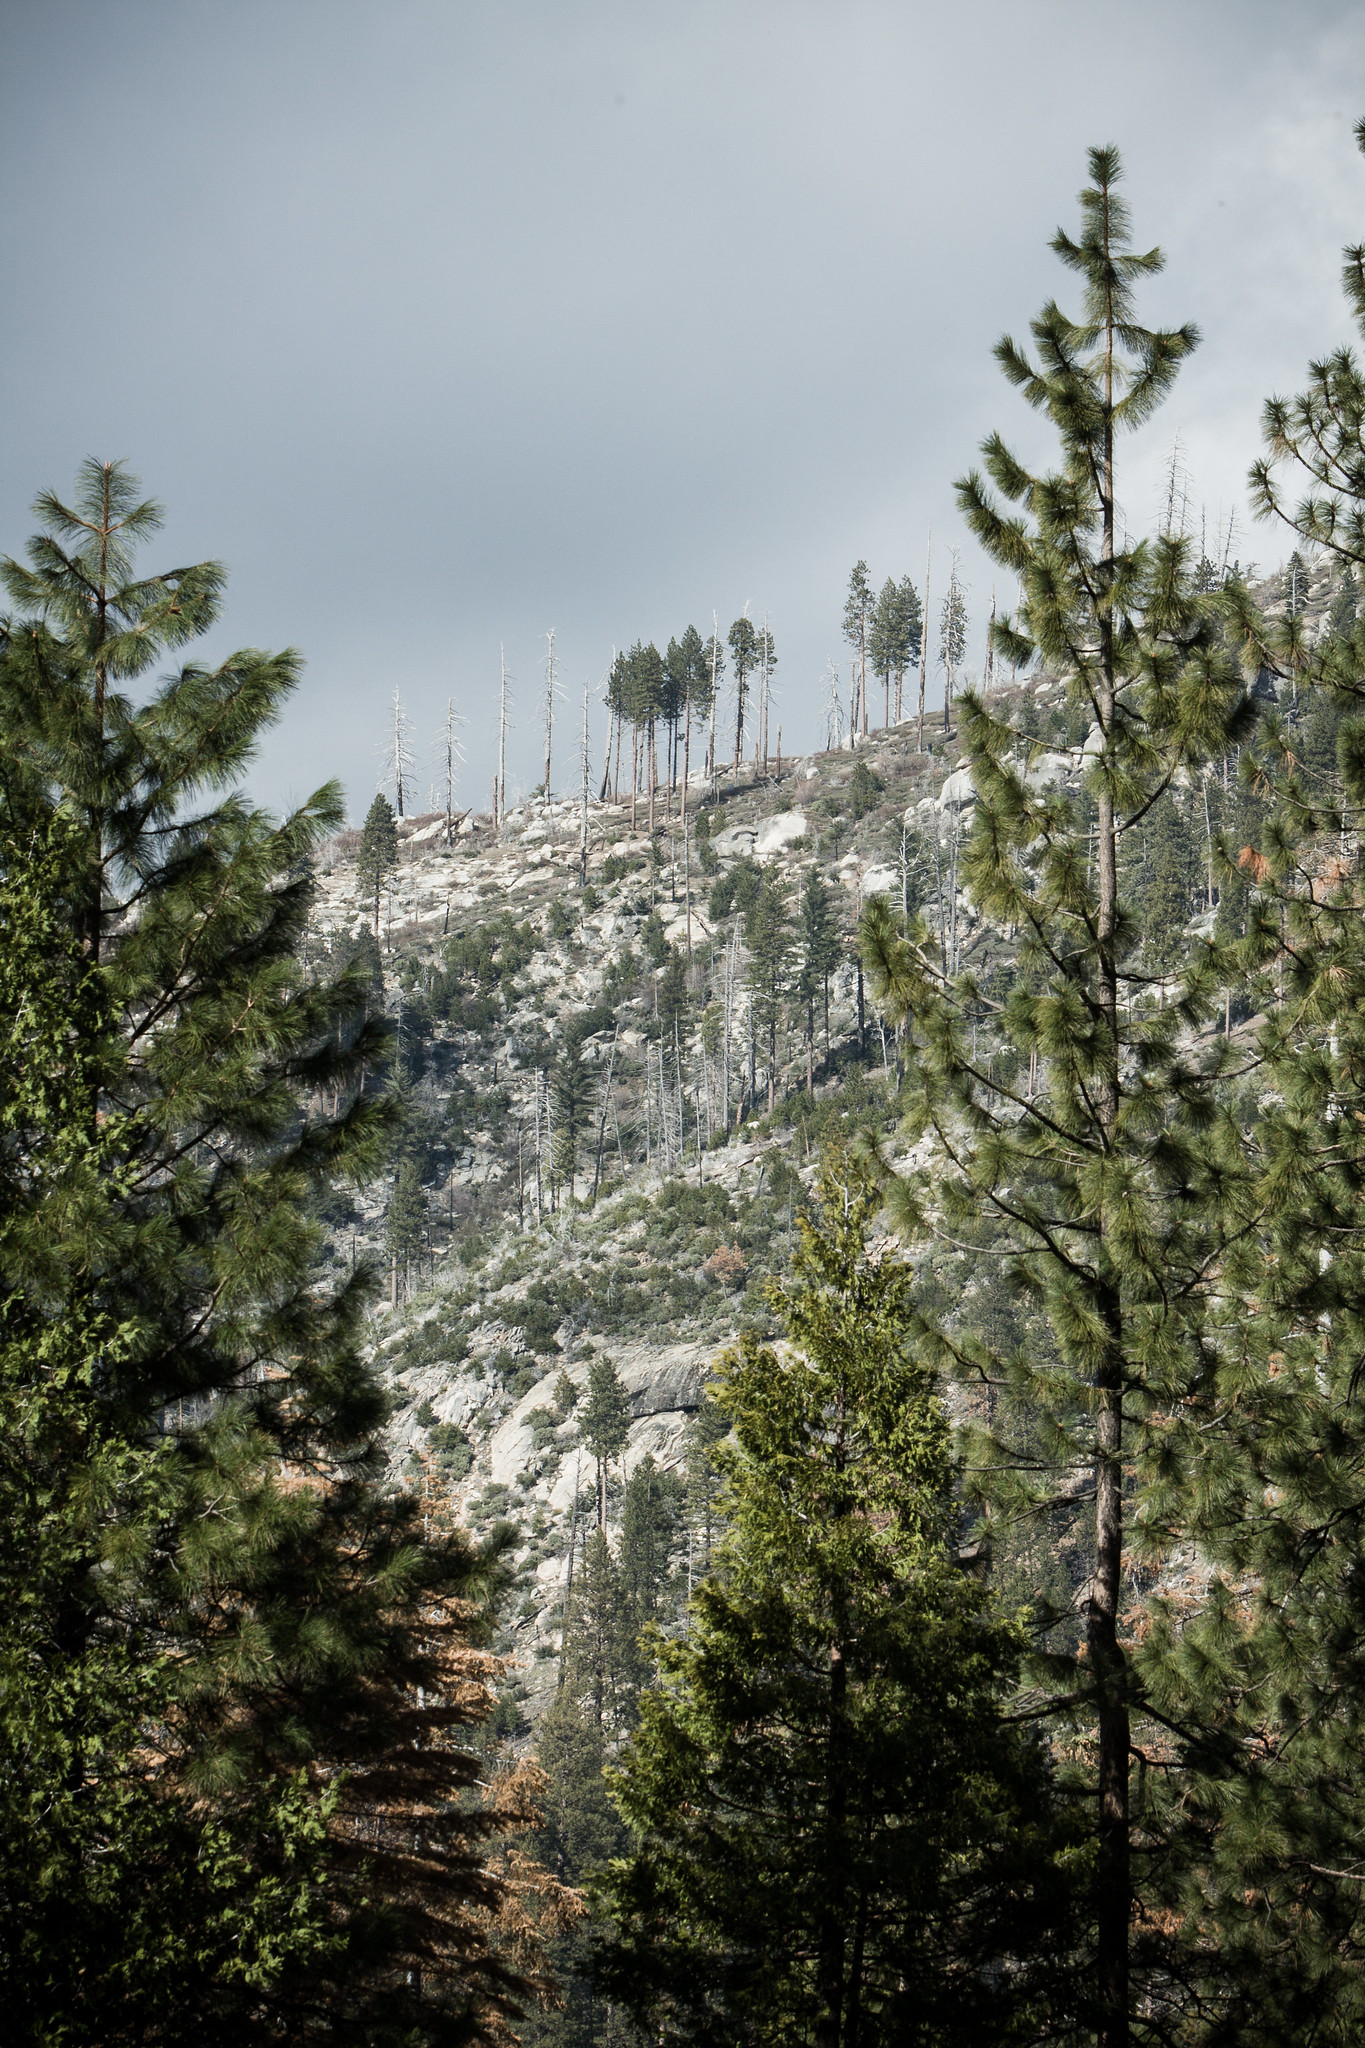
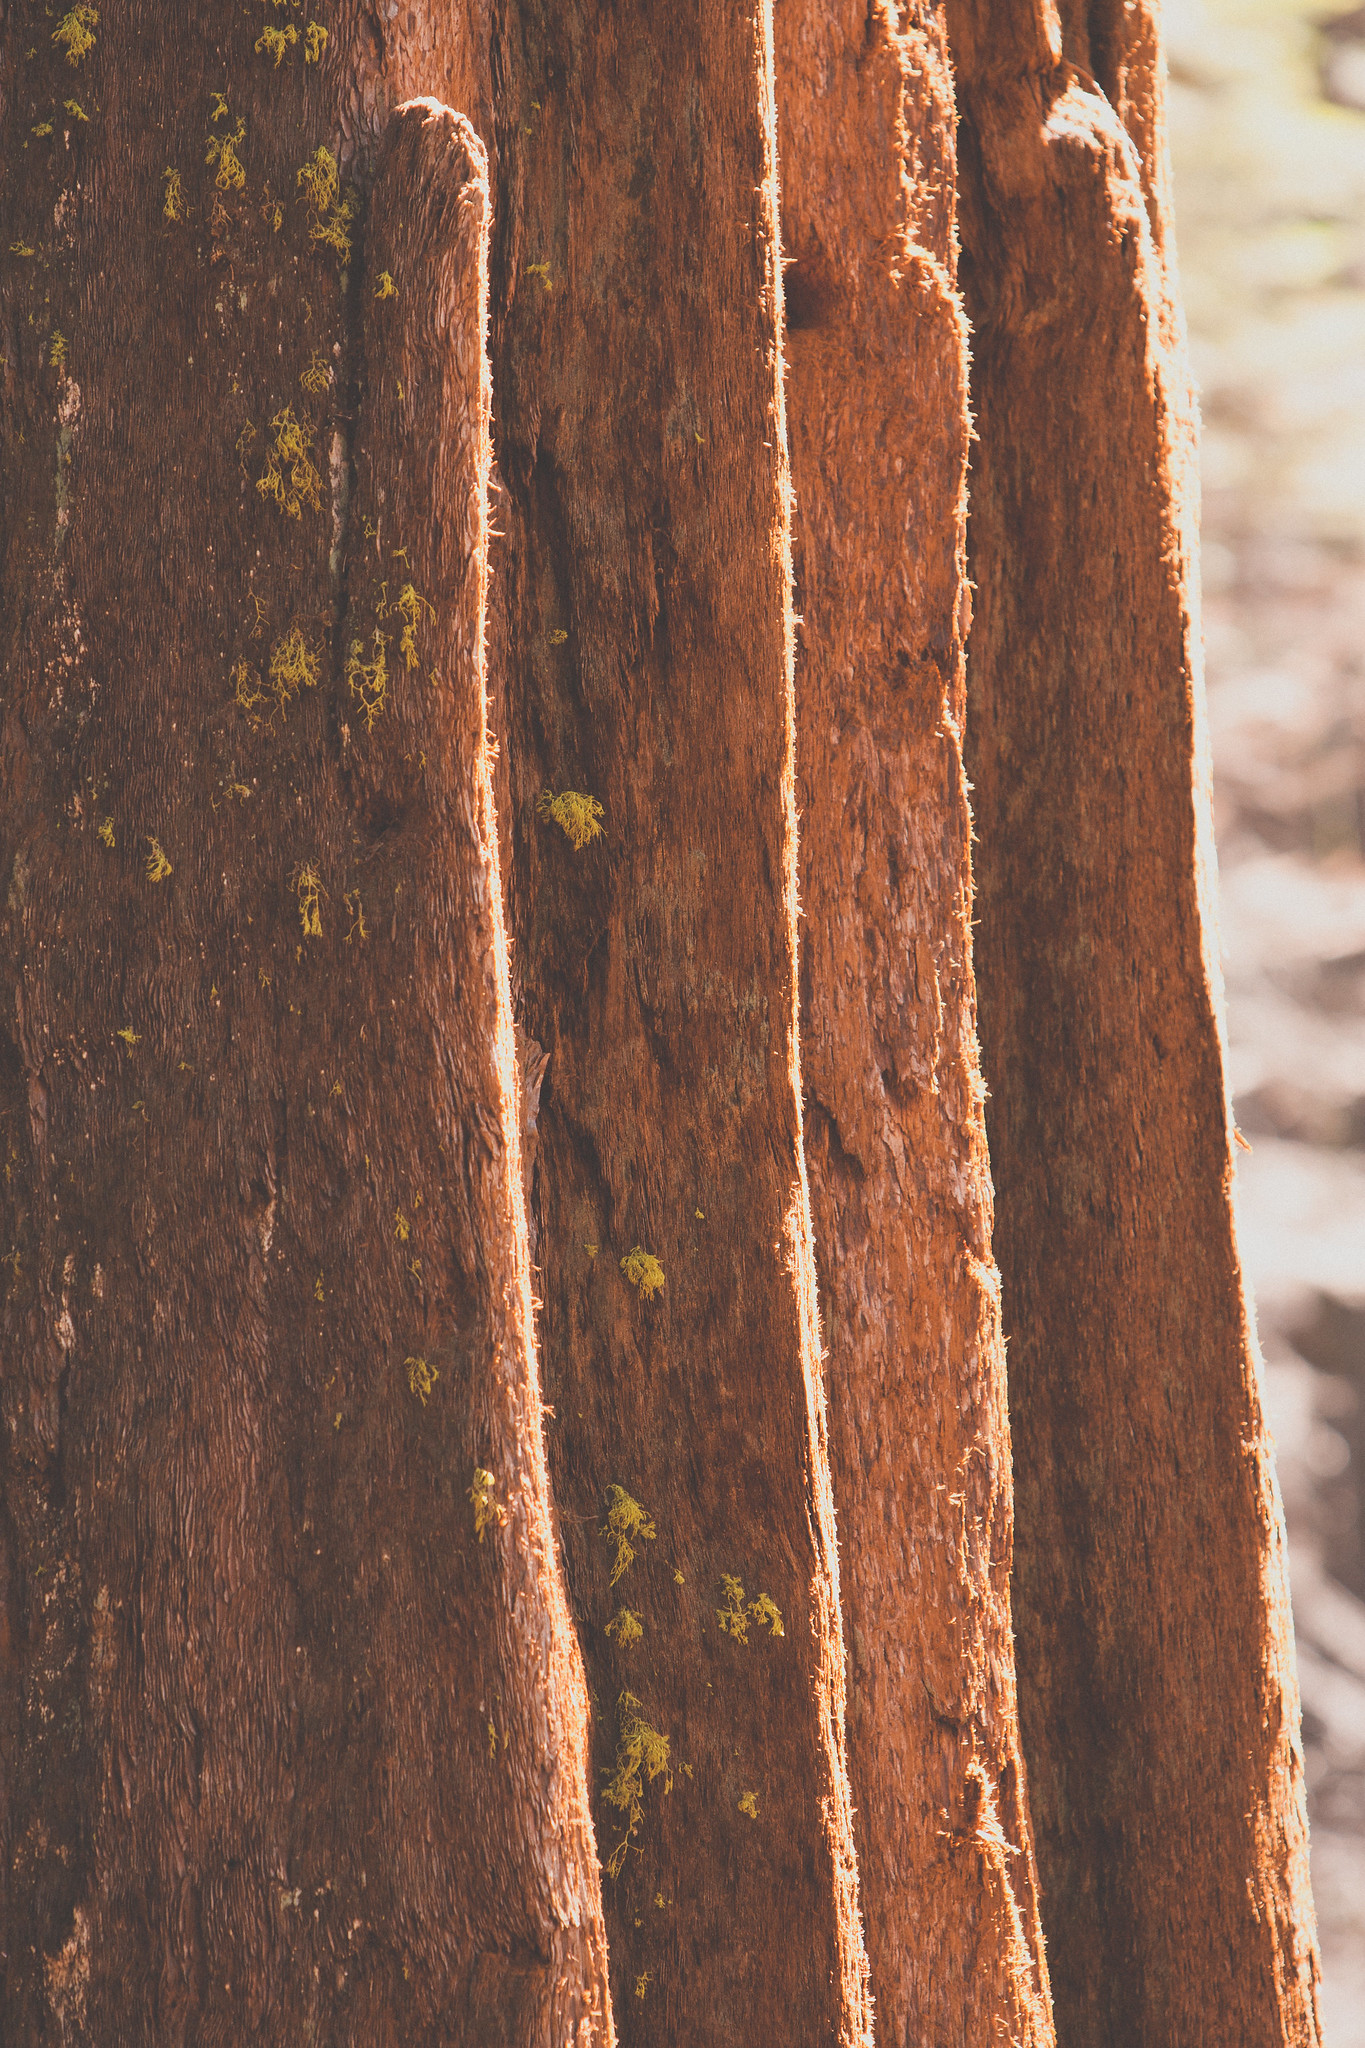
The first thing we did the next day was book hotels for the rest of the trip. We werenât going to get lucky with nearby friends while going across the plains. We then took a leisurely route through the mountains to get over to Glacier National Park. We explored Lake McDonald, the Trail of the Cedars, and Avalanche Creek.


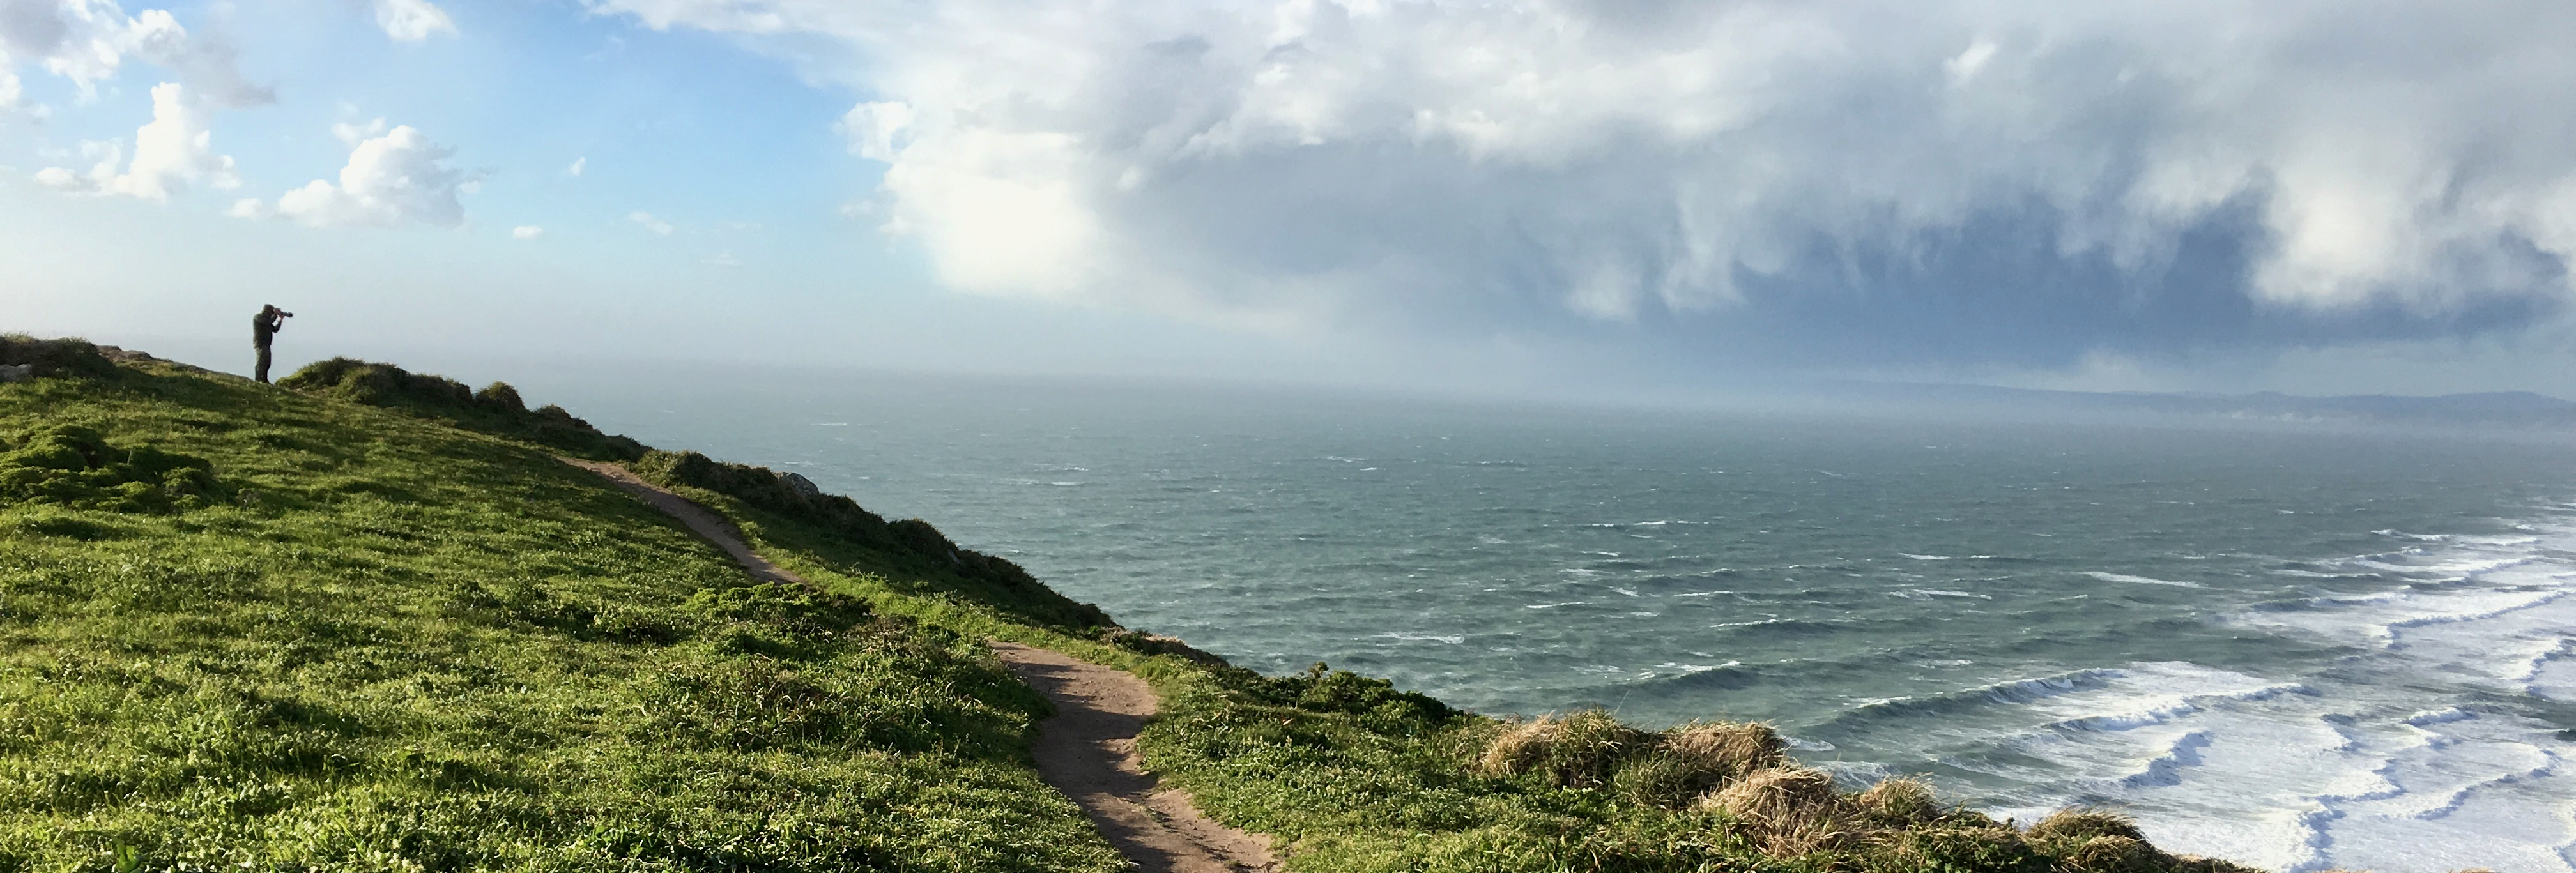
The next day we got up early, went across Going To The Sun Road, and drove up to Waterton, Glacierâs sister park in Canada.
The drive took longer than expected, so I had to sprint to buy us tickets for the boat tour of Upper Waterton Lake. It was well worth it. We saw some incredible scenery and caught a glimpse of a momma black bear and her cubs. I got a proper sunburn, got my shoes wet, and took hundreds of photos. A good day, all in all.


Day 4: Glacier to Minot, ND
We got up early, drove around the southern edge of Glacier, saw a moose, and settled in for a long drive across the plains. We set Minot, ND, as our destination for the day, which was a 15 hour drive across hot, dry, flat, featureless land. Thank goodness for podcasts! Lunch options were slim, so we found a grocery store and bought stuff for sandwiches, which we assembled and ate in the parking lot.

Dinner options were slim, too. The plains are an empty place. We had dinner at The Taco Shack in Glasgow, MT, the only town we saw for hours. I got their special, âThe Emmetâ: a plate of tater tots covered in taco meat and cheese.


Day 5: Minot, ND, to Marquette, MI
After a short night of sleep (we arrived late in Minot), we got back on the road and made for Marquette, MI. After about an hour and a half on the road, we cruised through Rugby, ND, and made a quick stop at the geographical center of North America.

I had to work for the last four days of the trip, which was challenging. I got up early, stayed up late, took phone calls at rest areas, and answered emails in the back seat when I wasnât driving.
We stopped at Duluth TradingArchived Link in Duluth, MN, then kept on trucking. I was exhausted by this point, so all I remember is 1) how many bugs hit our windshield in the UP and 2) how flat the UP is. I expected it to be more hilly for some reason. We rolled in to Marquette around 1:30am and passed out immediately.
The next morning, we realized that there were so many bugs splattered across the windshield that we had to wash it at the next gas station.
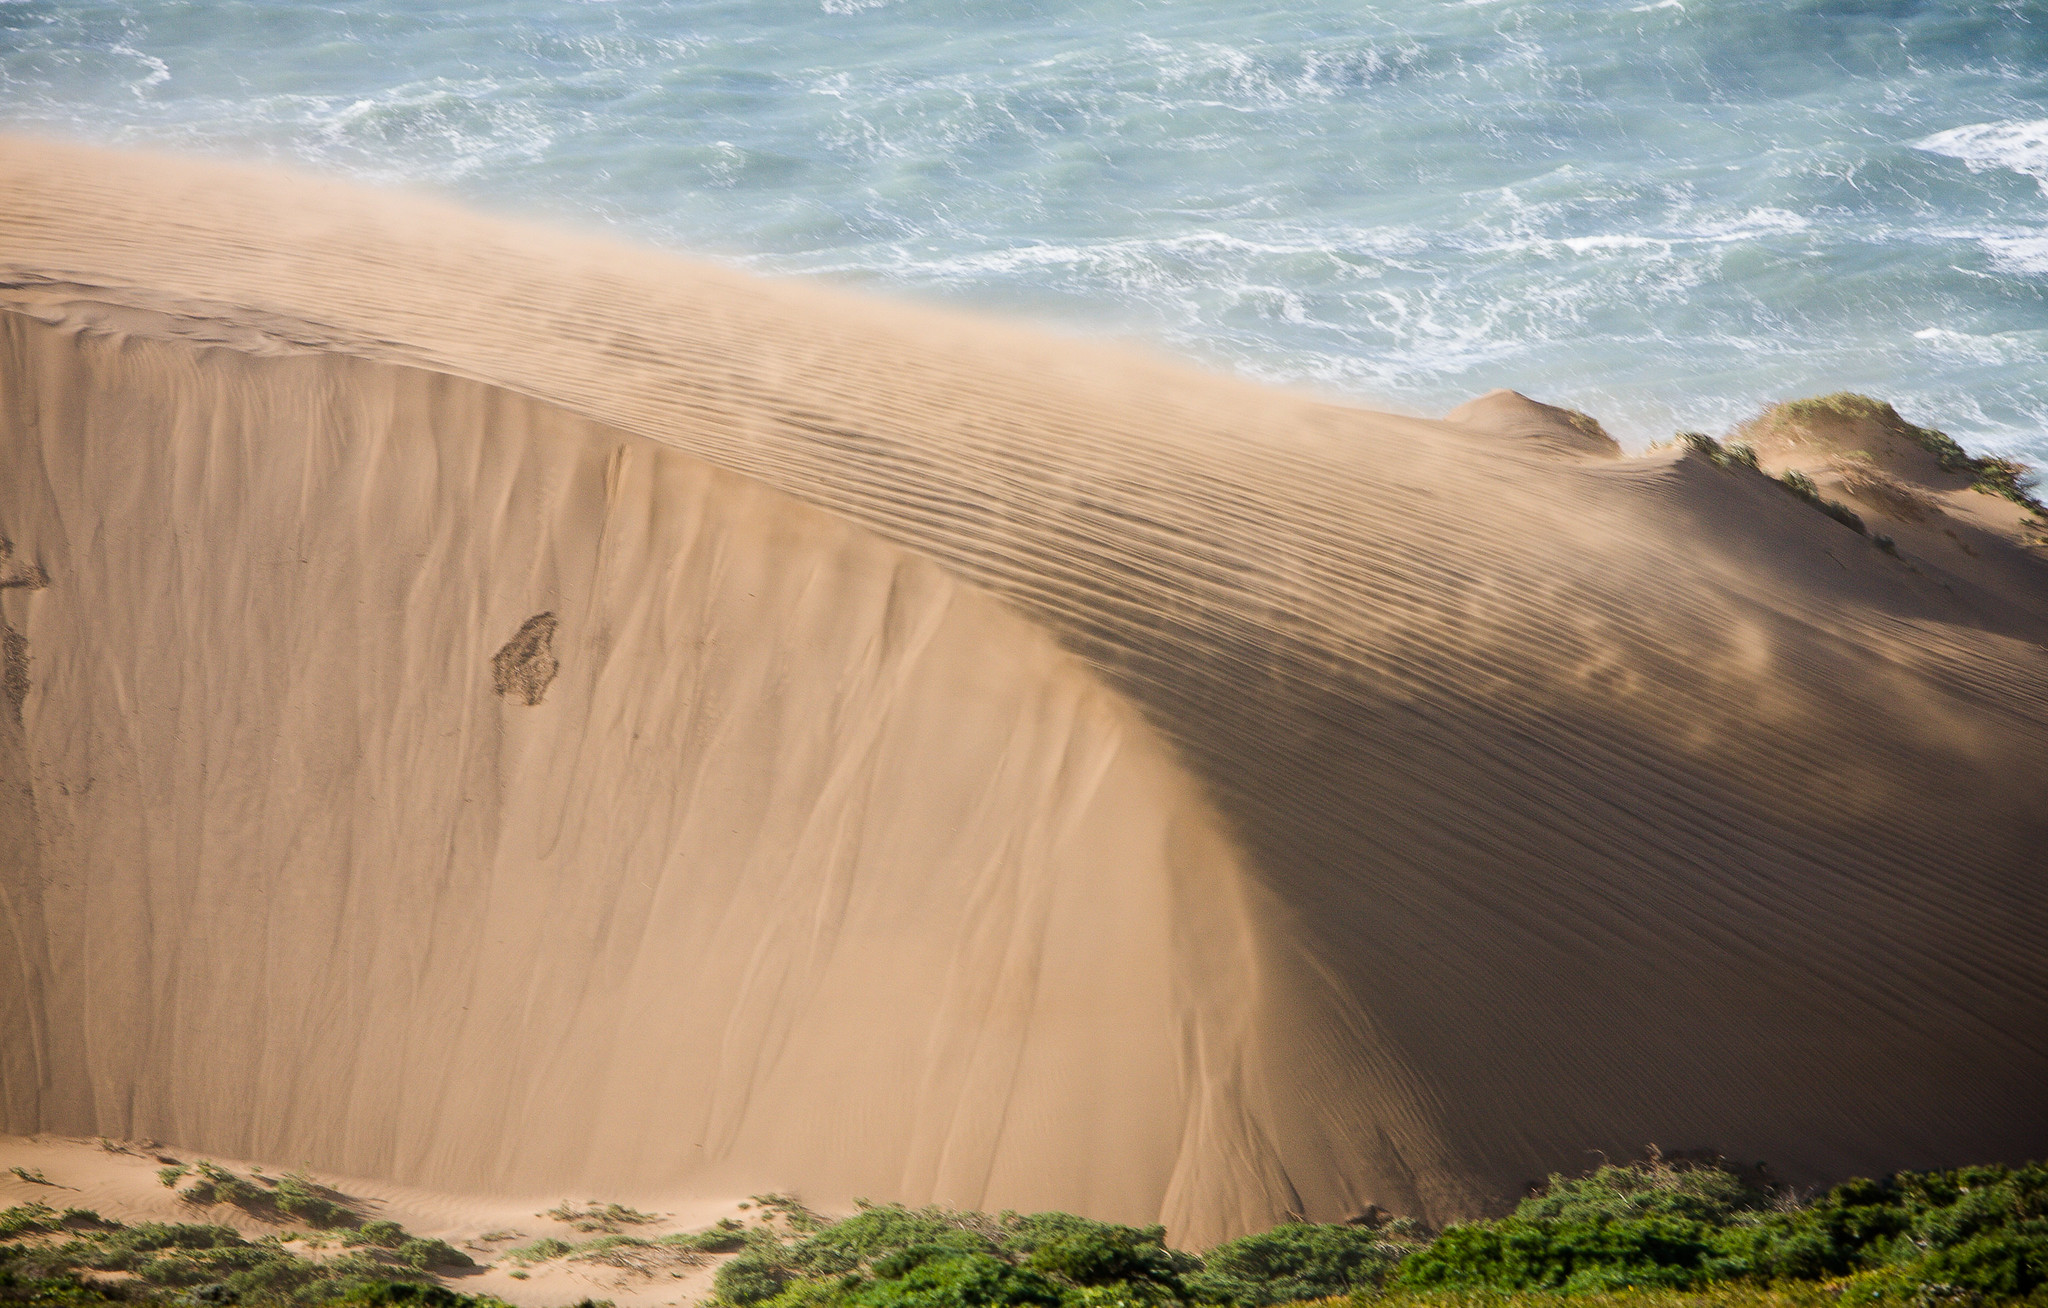
Day 6: Pictured Rocks to Cleveland, via Zingermanâs

We had planned on spending the day exploring Pictured Rocks and the Sleeping Bear Dunes, stay the night up there, and drive to Cleveland the next day, but we were so exhausted that we opted to skip the dunes and drive to Cleveland that day. We took our time around Pictured Rocks, then I shot a hyperlapse of going across the Mackinac Bridge and we cruised all the way down to Zingermanâs in Ann Arbor for dinner. After stuffing our faces with fantastic sandwiches, we drove the last two hours back to the Cleveland area.

Days 7â8: Cleveland to Yonkers
I stayed at my parentsâ house for two nights, which was just enough time to visit with family and get my favorite pizza.


I took I-80 across Pennsylvania back to NY by myself on day 8, completing the trip. Iâve taken that 8 hour trip dozens of times over the past 5 years, but after driving 12+ hours a day for the previous week, I was ready to get out of the car. I didnât even take any photos!
Tips for planning your own trip
- If you plan to do a trip like this, Road Trip USA has a great guide that you can use as a starting point.
- Make sure you build in rest time along the way.
- Get off work entirely. Juggling deadlines while driving is stressful.
- Take snacks.
- Get fuel when you can. The plains are desolate.
- Book hotels in advance so you donât get stuck somewhere.
- To document the trip, make sure you do something fun like shooting little video clips or doing panoselfies (our medium of choice) along the way.