
Category: Workshop
-
Shopsmith Mark V Single vs Double Bearing Quills
Read more…: Shopsmith Mark V Single vs Double Bearing QuillsEarlier this year I started noticing some runout on the spindle of my 50 year old Shopsmith Mark V. I did some reading about my specific model and came to two conclusions: Replacing the bearing is straightforward. Alex’s Shopsmith Repair sells them and with a few tools you can replace it yourself. What I also…
-
French Cleats
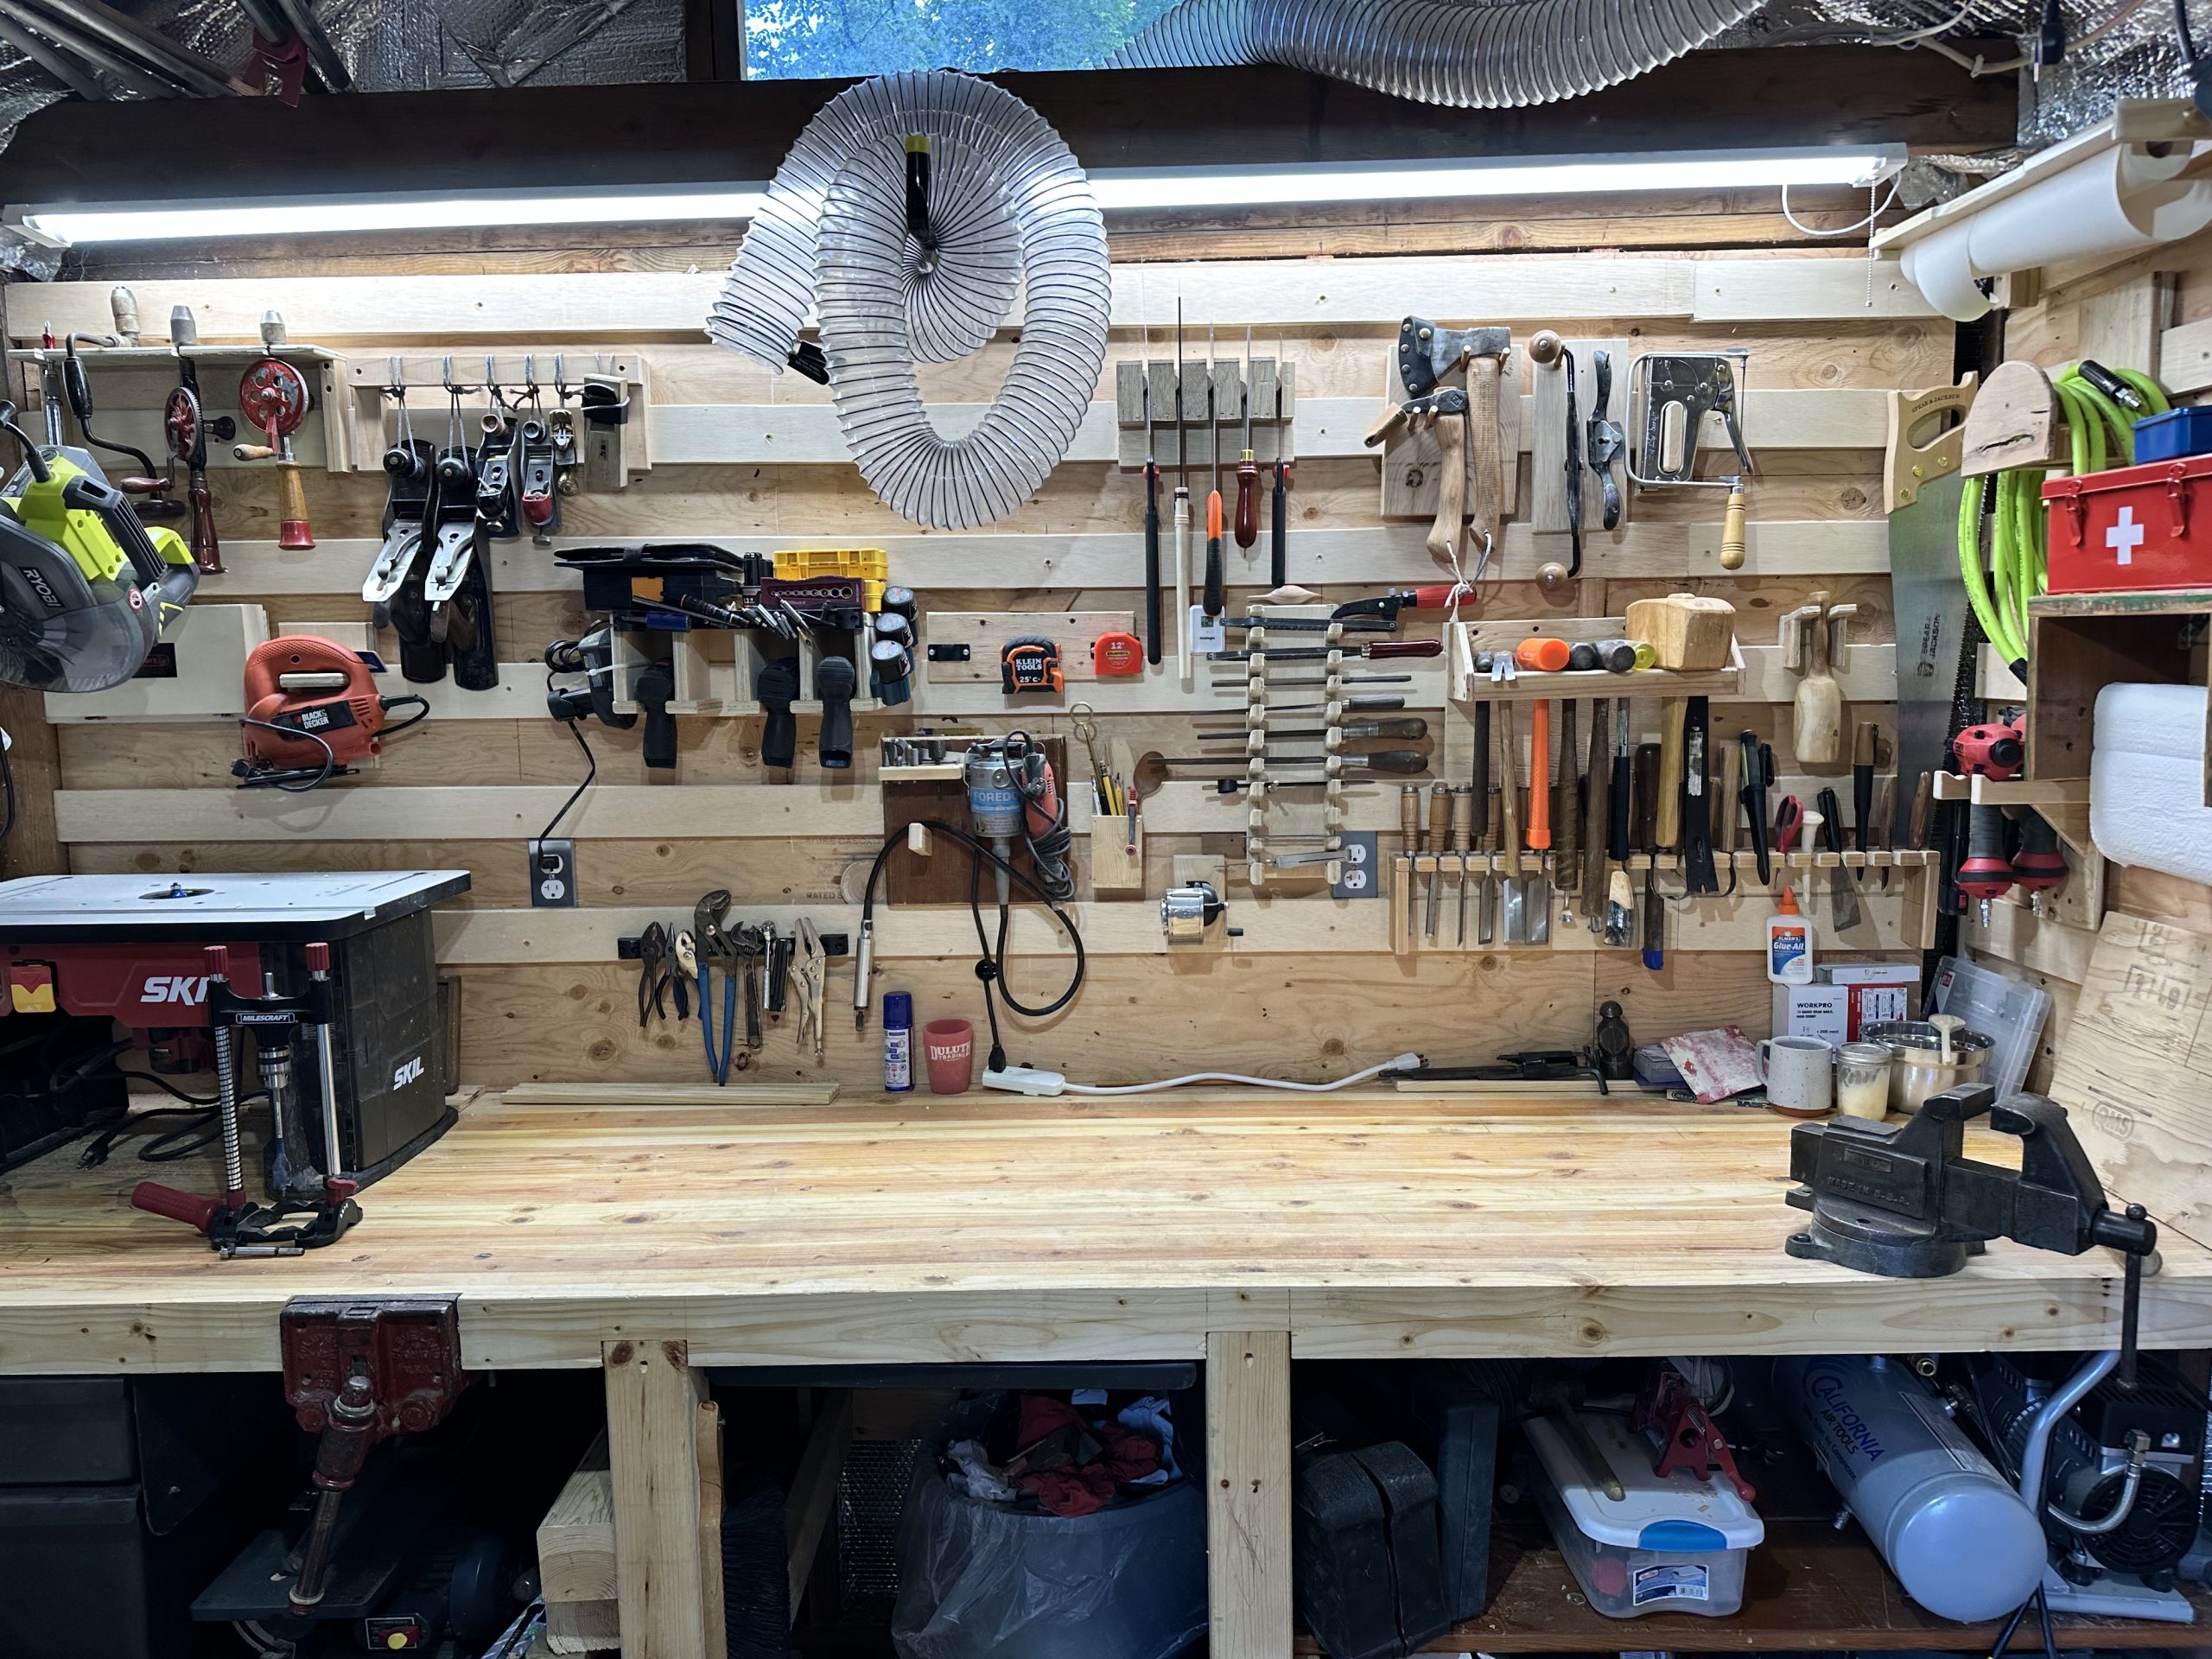 Read more…: French Cleats
This is part 4 of my workshop upgrade series. Previously: One of my goals with the workshop upgrade was improving my use of space. With only 10x14ft to work with, floor space is at a premium. To keep things off the bench, I need to get them on the walls, but I’m hesitant to make…
-
Workshop dust collection
Read more…: Workshop dust collectionThis is part 3 of my workshop upgrade series. Previously: With my workshop upgrade, I decided it is time to get serious about dust collection. As I wrote about in the workbench build post, my main constraint is lack of floor space in the 10×14′ shed. So whatever I came up with must be mounted…
-
Workbench build
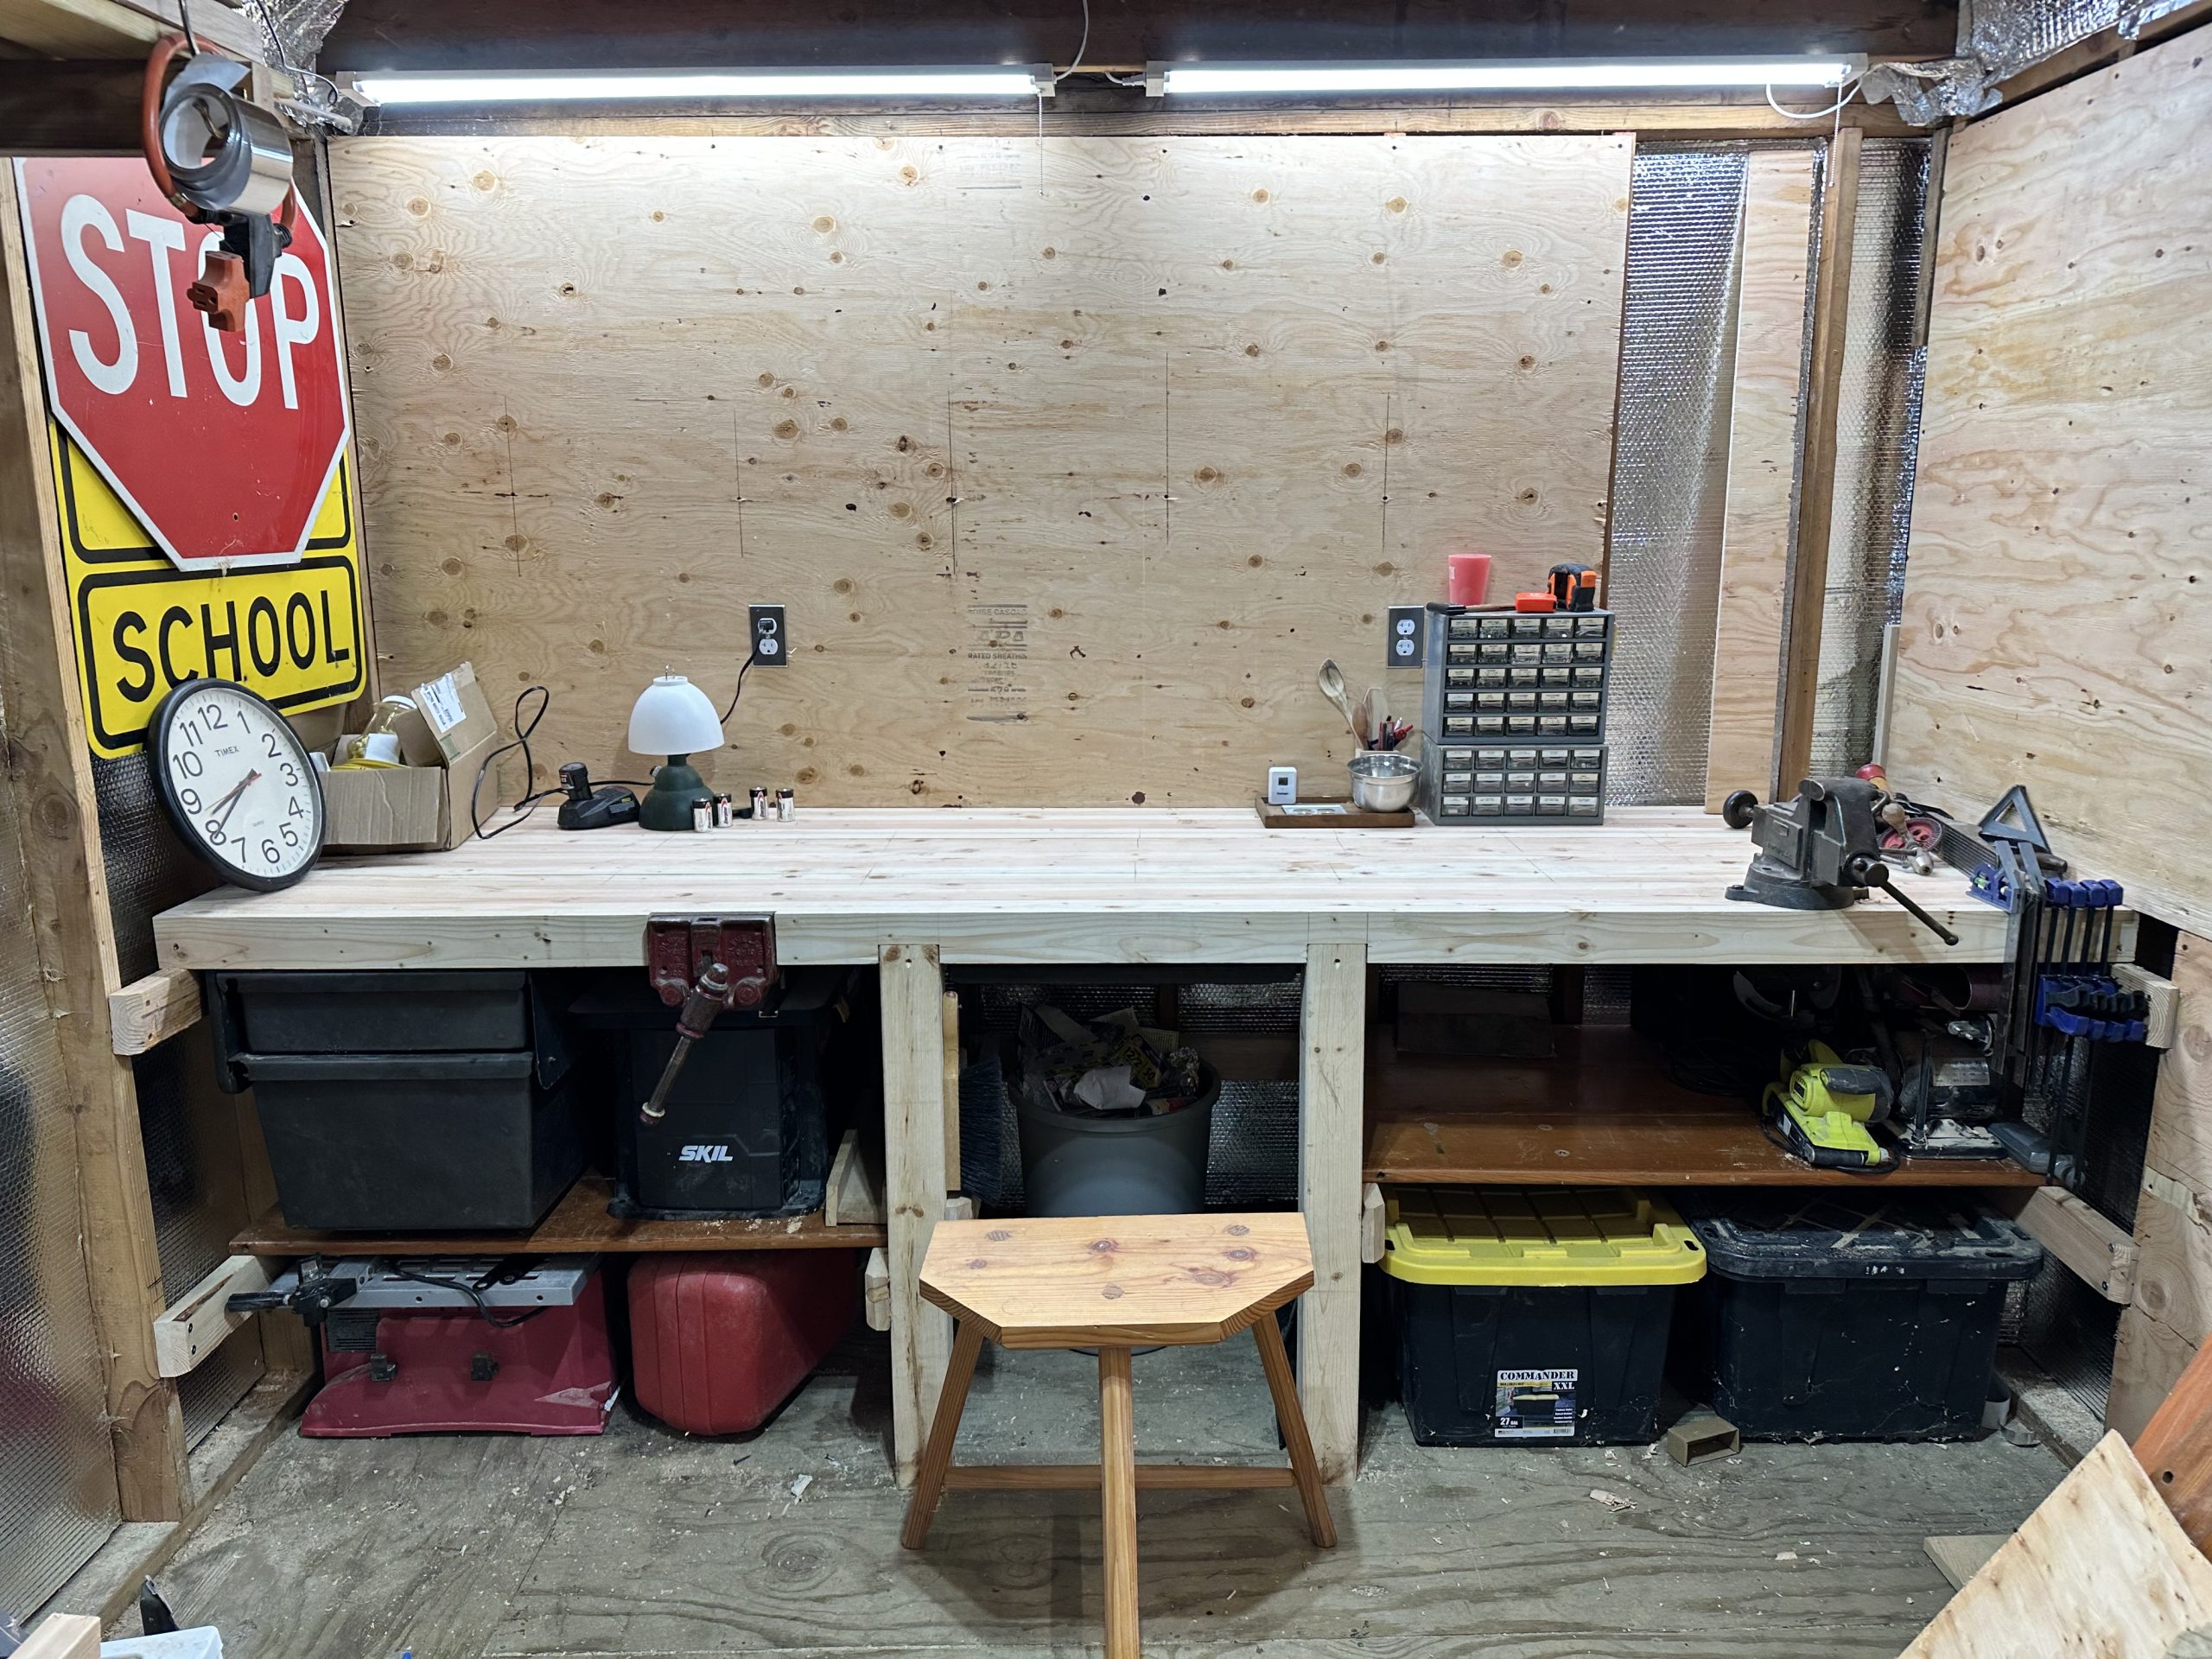 Read more…: Workbench build
Step two of the workshop upgrade. Previously: Insulating and heating my workshop with a diesel heater Research and design The workshop is a small 10×14′ space, so I needed to be very intentional about where I put this workbench to maximize work area. The previous owner had haphazardly installed a 72″x20″ particleboard desk top as…
-
Insulating and heating my workshop with a diesel heater
Read more…: Insulating and heating my workshop with a diesel heaterI mentioned this in some weekly posts, but wanted to write a dedicated one so I have a place to link to in the future. Working out in my 10’x14′ workshop on a cold day in January and shivering, I resolved to finally put in some heat. My first idea was a tiny top-loading wood…
-
Making kitchen tools from a log
 Read more…: Making kitchen tools from a log
A friend gave me some nice cherry logs that I sealed the ends of and let dry for the past year. I haven’t done much of my own milling, but I decided to get one of the logs out and see how much I could make out of it. What I ended up getting out…
-
Two Staked Wooden Stools from The Anarchist’s Design Book
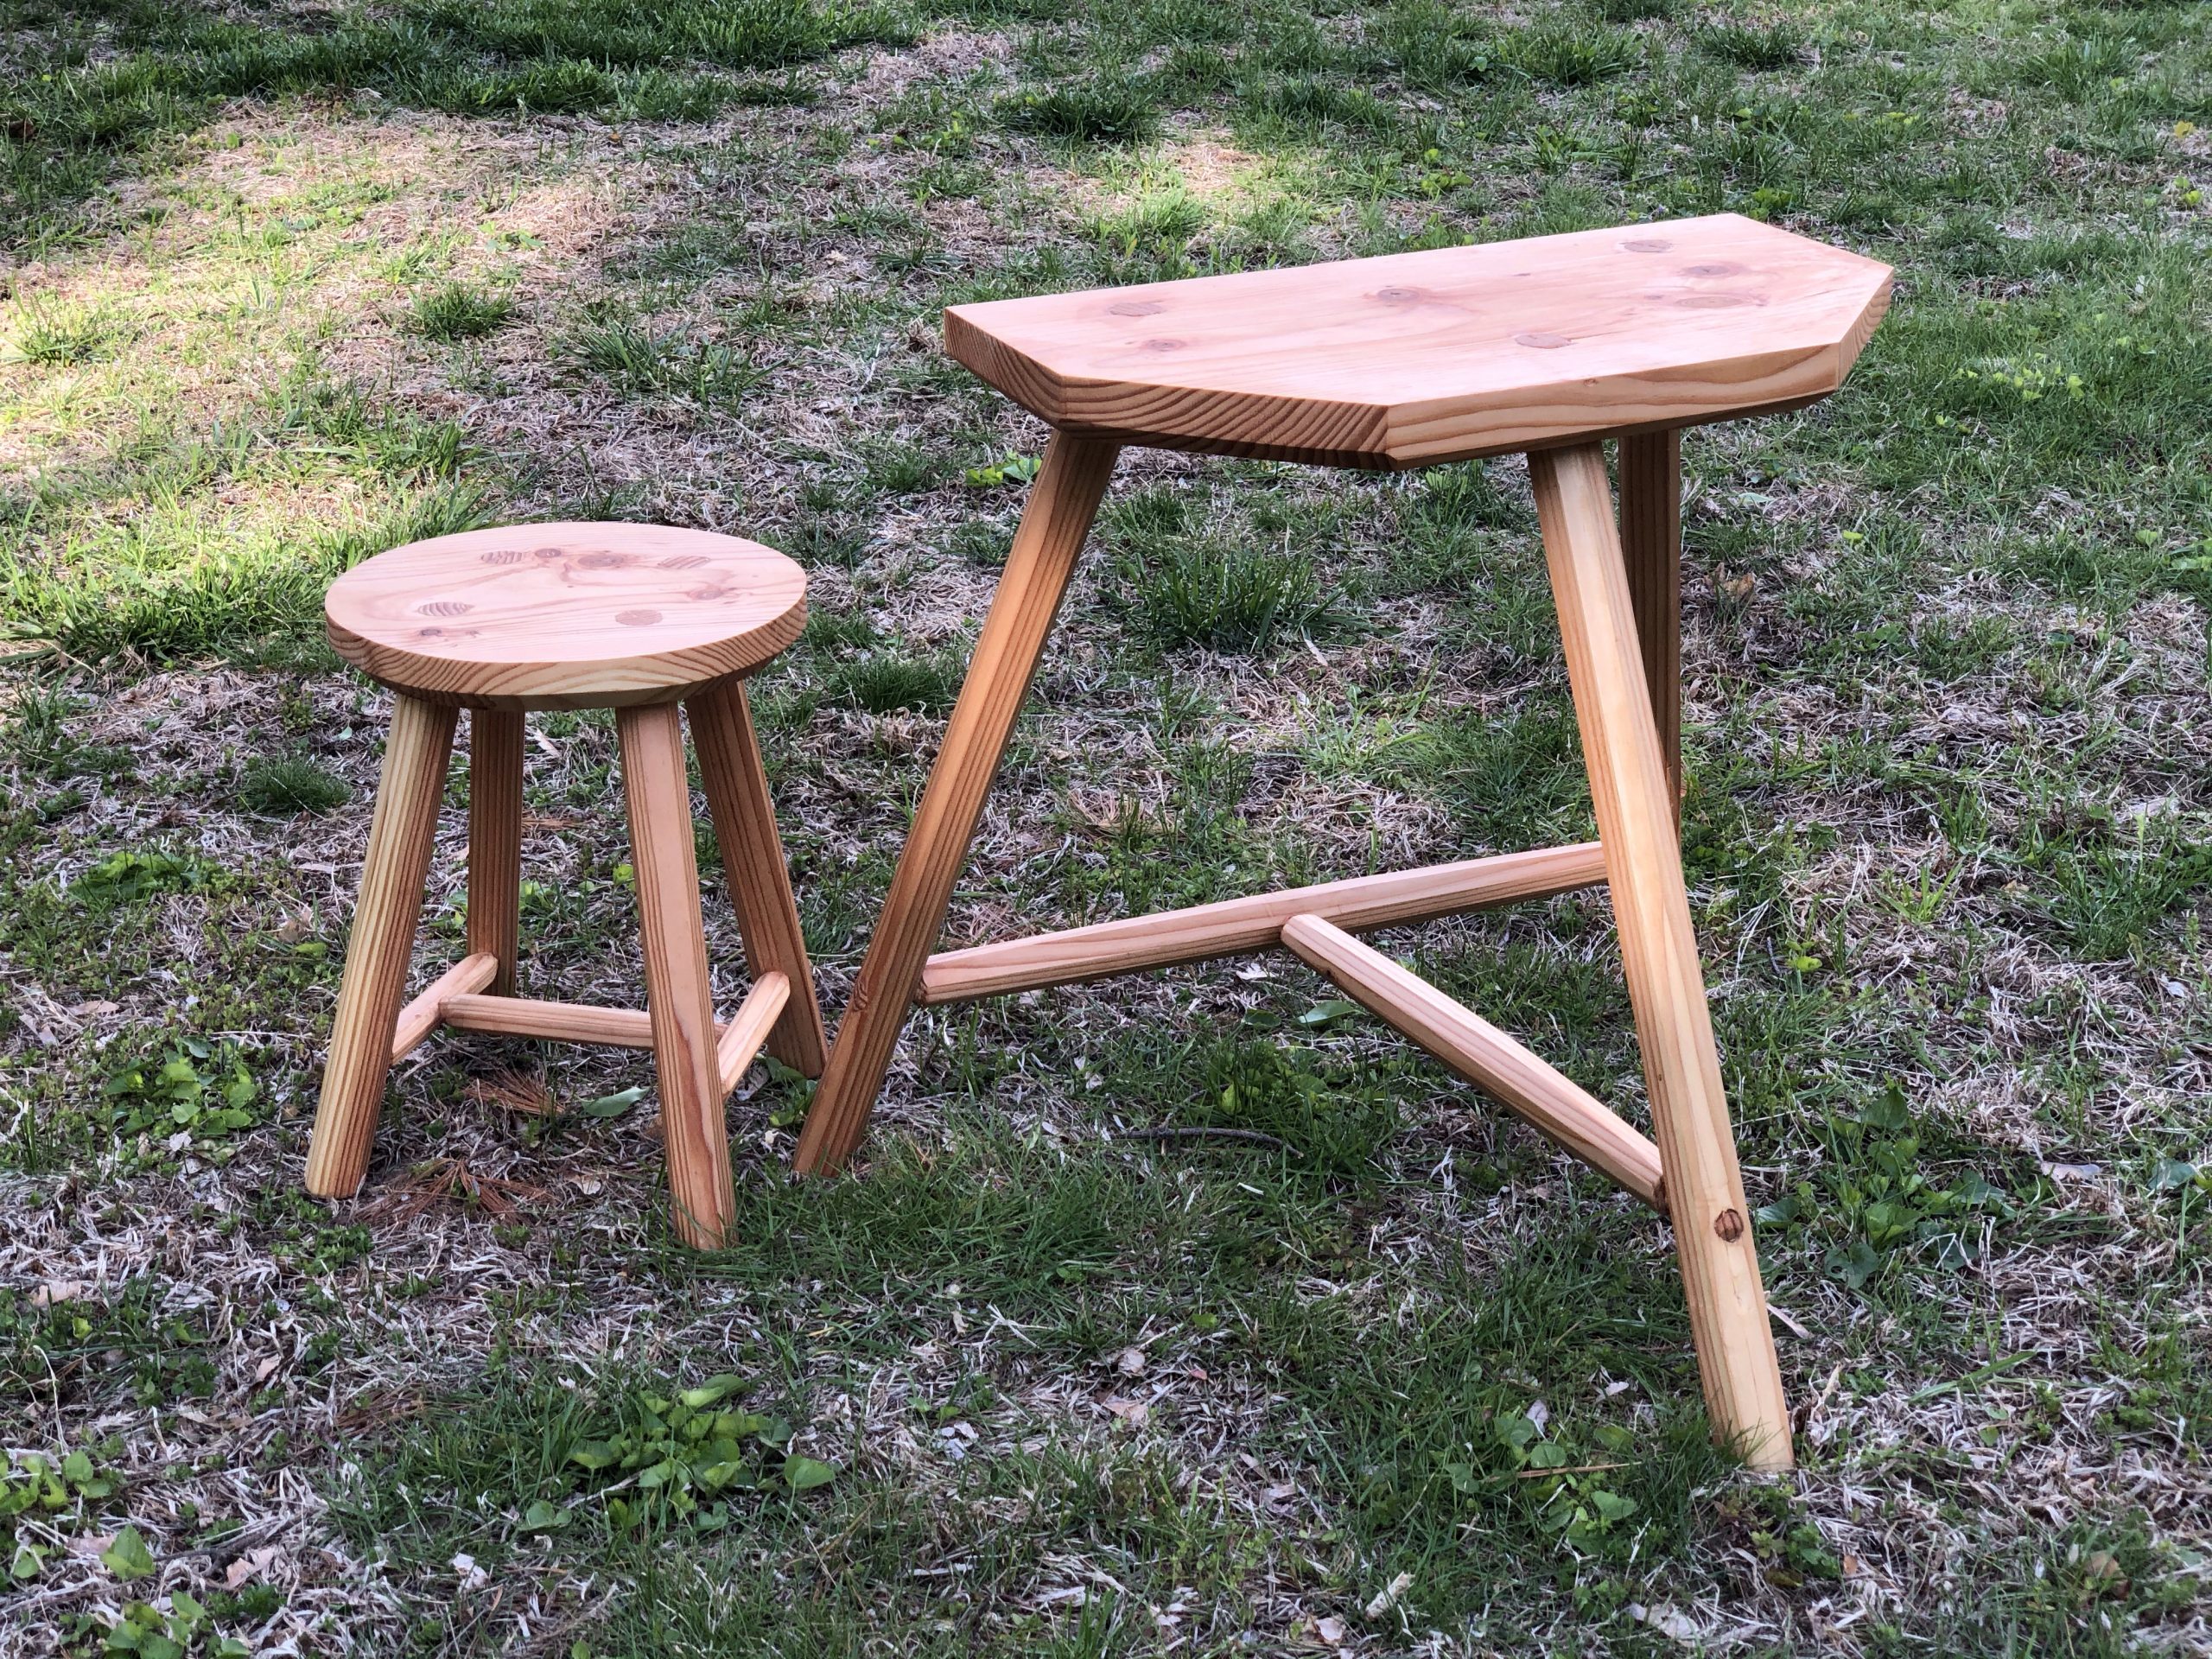 Read more…: Two Staked Wooden Stools from The Anarchist’s Design Book
I love staked wooden chairs and I want to learn how to make them, so I picked up The Anarchist’s Design Book from Lost Art Press. All of their books are top-notch and I highly recommend them. Christopher Schwarz’s introduction on what he means by “anarchist” resonates deeply with me. I figured I’d start small…
-
Maintenance on a Shopsmith Mark V
Read more…: Maintenance on a Shopsmith Mark VFixing a stuck floating motor sheave and cleaning out years of grime on a Shopsmith Mark V.