
Category: TIL
-
Regex Lookahead and Lookbehind
 Read more…: Regex Lookahead and Lookbehind
TIL how to do lookarounds in Regex
-
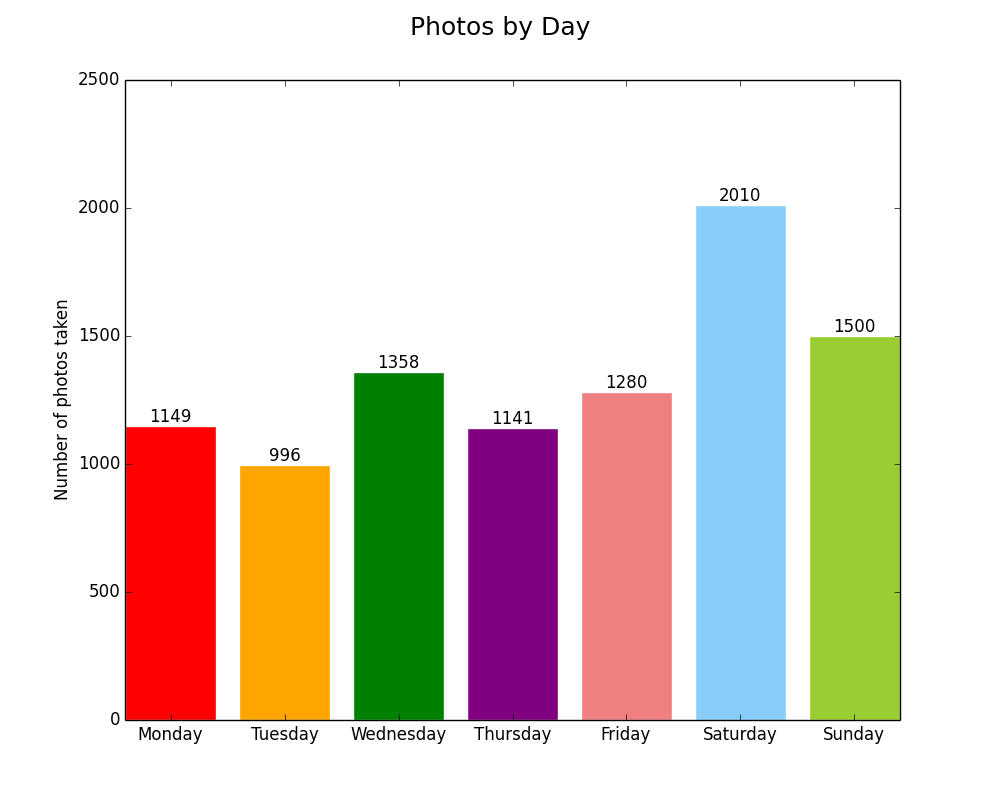
Responsive D3.js bar chart with labels
 Read more…: Responsive D3.js bar chart with labels
TIL how to make
-
Strange issues with stacking on iOS Safari
 Read more…: Strange issues with stacking on iOS Safari
Safari on iOS and Safari on Mac OS X are not created equal.
-
Having trouble accessing your website from Google’s public DNS? Check your DNSSEC.
 Read more…: Having trouble accessing your website from Google’s public DNS? Check your DNSSEC.
Having trouble accessing your website from Google’s public DNS? Check your DNSSEC.
-
Web crawlers, Regex for Markdown URLs, and Removing your site from Google search results
 Read more…: Web crawlers, Regex for Markdown URLs, and Removing your site from Google search results
TIL about some resources for making web work easier.
-
Circular Progress Bar Count Up with Javascript
Read more…: Circular Progress Bar Count Up with JavascriptI used ProgressBar.js to build a date counter that counts up from a particular point in time visually.
-
Converting an Aperture Library to Lightroom
Read more…: Converting an Aperture Library to LightroomConverting Aperture photo libraries to Lightroom
-
Amending Commits, Matplotlib, and More Python
 Read more…: Amending Commits, Matplotlib, and More Python
Today I collected the things I learned in the past week.
-
Toggling divs with jQuery
 Read more…: Toggling divs with jQuery
Today I reminded myself how to toggle divs with buttons.
-
Javascript Counter
Read more…: Javascript CounterTIL how to make a javascript counter.
-
Running other scripts with AppleScript
Read more…: Running other scripts with AppleScriptTIL how to run other scripts with AppleScript
-
Reading CSVs, counting, lambda expressions, and plotting with Python
 Read more…: Reading CSVs, counting, lambda expressions, and plotting with Python
TIL how to read CSVs, count, order via lambda expressions, and plot with Python.
-
Dealing with Files in AppleScript and Conditional Counts in Excel
 Read more…: Dealing with Files in AppleScript and Conditional Counts in Excel
TIL how to deal with files in AppleScript and how to do conditional counts in Excel.
-
Excel formulas to combine columns and convert time, More SQL functions
 Read more…: Excel formulas to combine columns and convert time, More SQL functions
TIL how to concatenate columns and convert time in Excel and some more SQL functions.
-
Aliases in SQL and Sorting Tables with jQuery
Read more…: Aliases in SQL and Sorting Tables with jQueryTIL how to make aliases for tables in SQL and how to sort tables with jQuery
-
There are Multiple Paths to the End Goal
Read more…: There are Multiple Paths to the End GoalTIL there are multiple paths to every end goal and sometimes you need to try another one instead of spinning your wheels.
-
Summing with Filters in Excel, Reminding Yourself “Why”
Read more…: Summing with Filters in Excel, Reminding Yourself “Why”TIL how to sum in Excel with filters and a trick for bringing myself back in perspective.
-
Hiding Categories from the Jekyll Paginator, Unless, and Insert statements
Read more…: Hiding Categories from the Jekyll Paginator, Unless, and Insert statementsTIL how to hide my TIL posts from the front page of my site, the Unless tag, and inserting mysql with PHP.
-
Connecting and Writing to MySQL with PHP
 Read more…: Connecting and Writing to MySQL with PHP
TIL the basics of connecting to a MySQL database and creating tables in PHP.
-
WordPress Plugins, Development Planning for New Developers
 Read more…: WordPress Plugins, Development Planning for New Developers
TIL a new-to-me development philosophy and the basic parts of creating a WordPress plugin.