Two Staked Wooden Stools from The Anarchist’s Design Book

,

I love staked wooden chairs and I want to learn how to make them, so I picked up The Anarchist’s Design Book from Lost Art Press. All of their books are top-notch and I highly recommend them. Christopher Schwarz’s introduction on what he means by “anarchist” resonates deeply with me.

I figured I’d start small and work my way up: Make a low stool, then a high stool, then try one of the simpler armless chairs before going all-in on a staked arm chair.

Low Stool

First, I had to make some concessions: I used Douglas Fir instead of hardwood for the seat because it was all I had on-hand and we were in the depths of the pandemic. I had a few 2x12s sitting in the rafters of my shed. I wanted to avoid a glue up, so I made the seat a bit smaller than the plans.

Second, after I had the thing made and was flipping through the book again, a tiny slip of paper fell out. It read “Errata.” Sure enough, it was about the low stool. The angles of the legs were off, so mine looks pretty different from the plans. Oh, well. I learned a lot in the process and it made the second one easier.

Glue up!
Finished stool.

High Stool

I learned a lot while making the low stool, especially about shaping the legs and cutting the tenons on them, so I was a more confident on this one and it went faster.

Checking to see if the holes I drilled for the spreaders line up. Looks good to me!

The perils of pine: Sometimes breaks happen. Always make extra legs.

Bummer.
Dry fit pre-glue up.
Post glue-up, pre-trimming, pre-finishing.

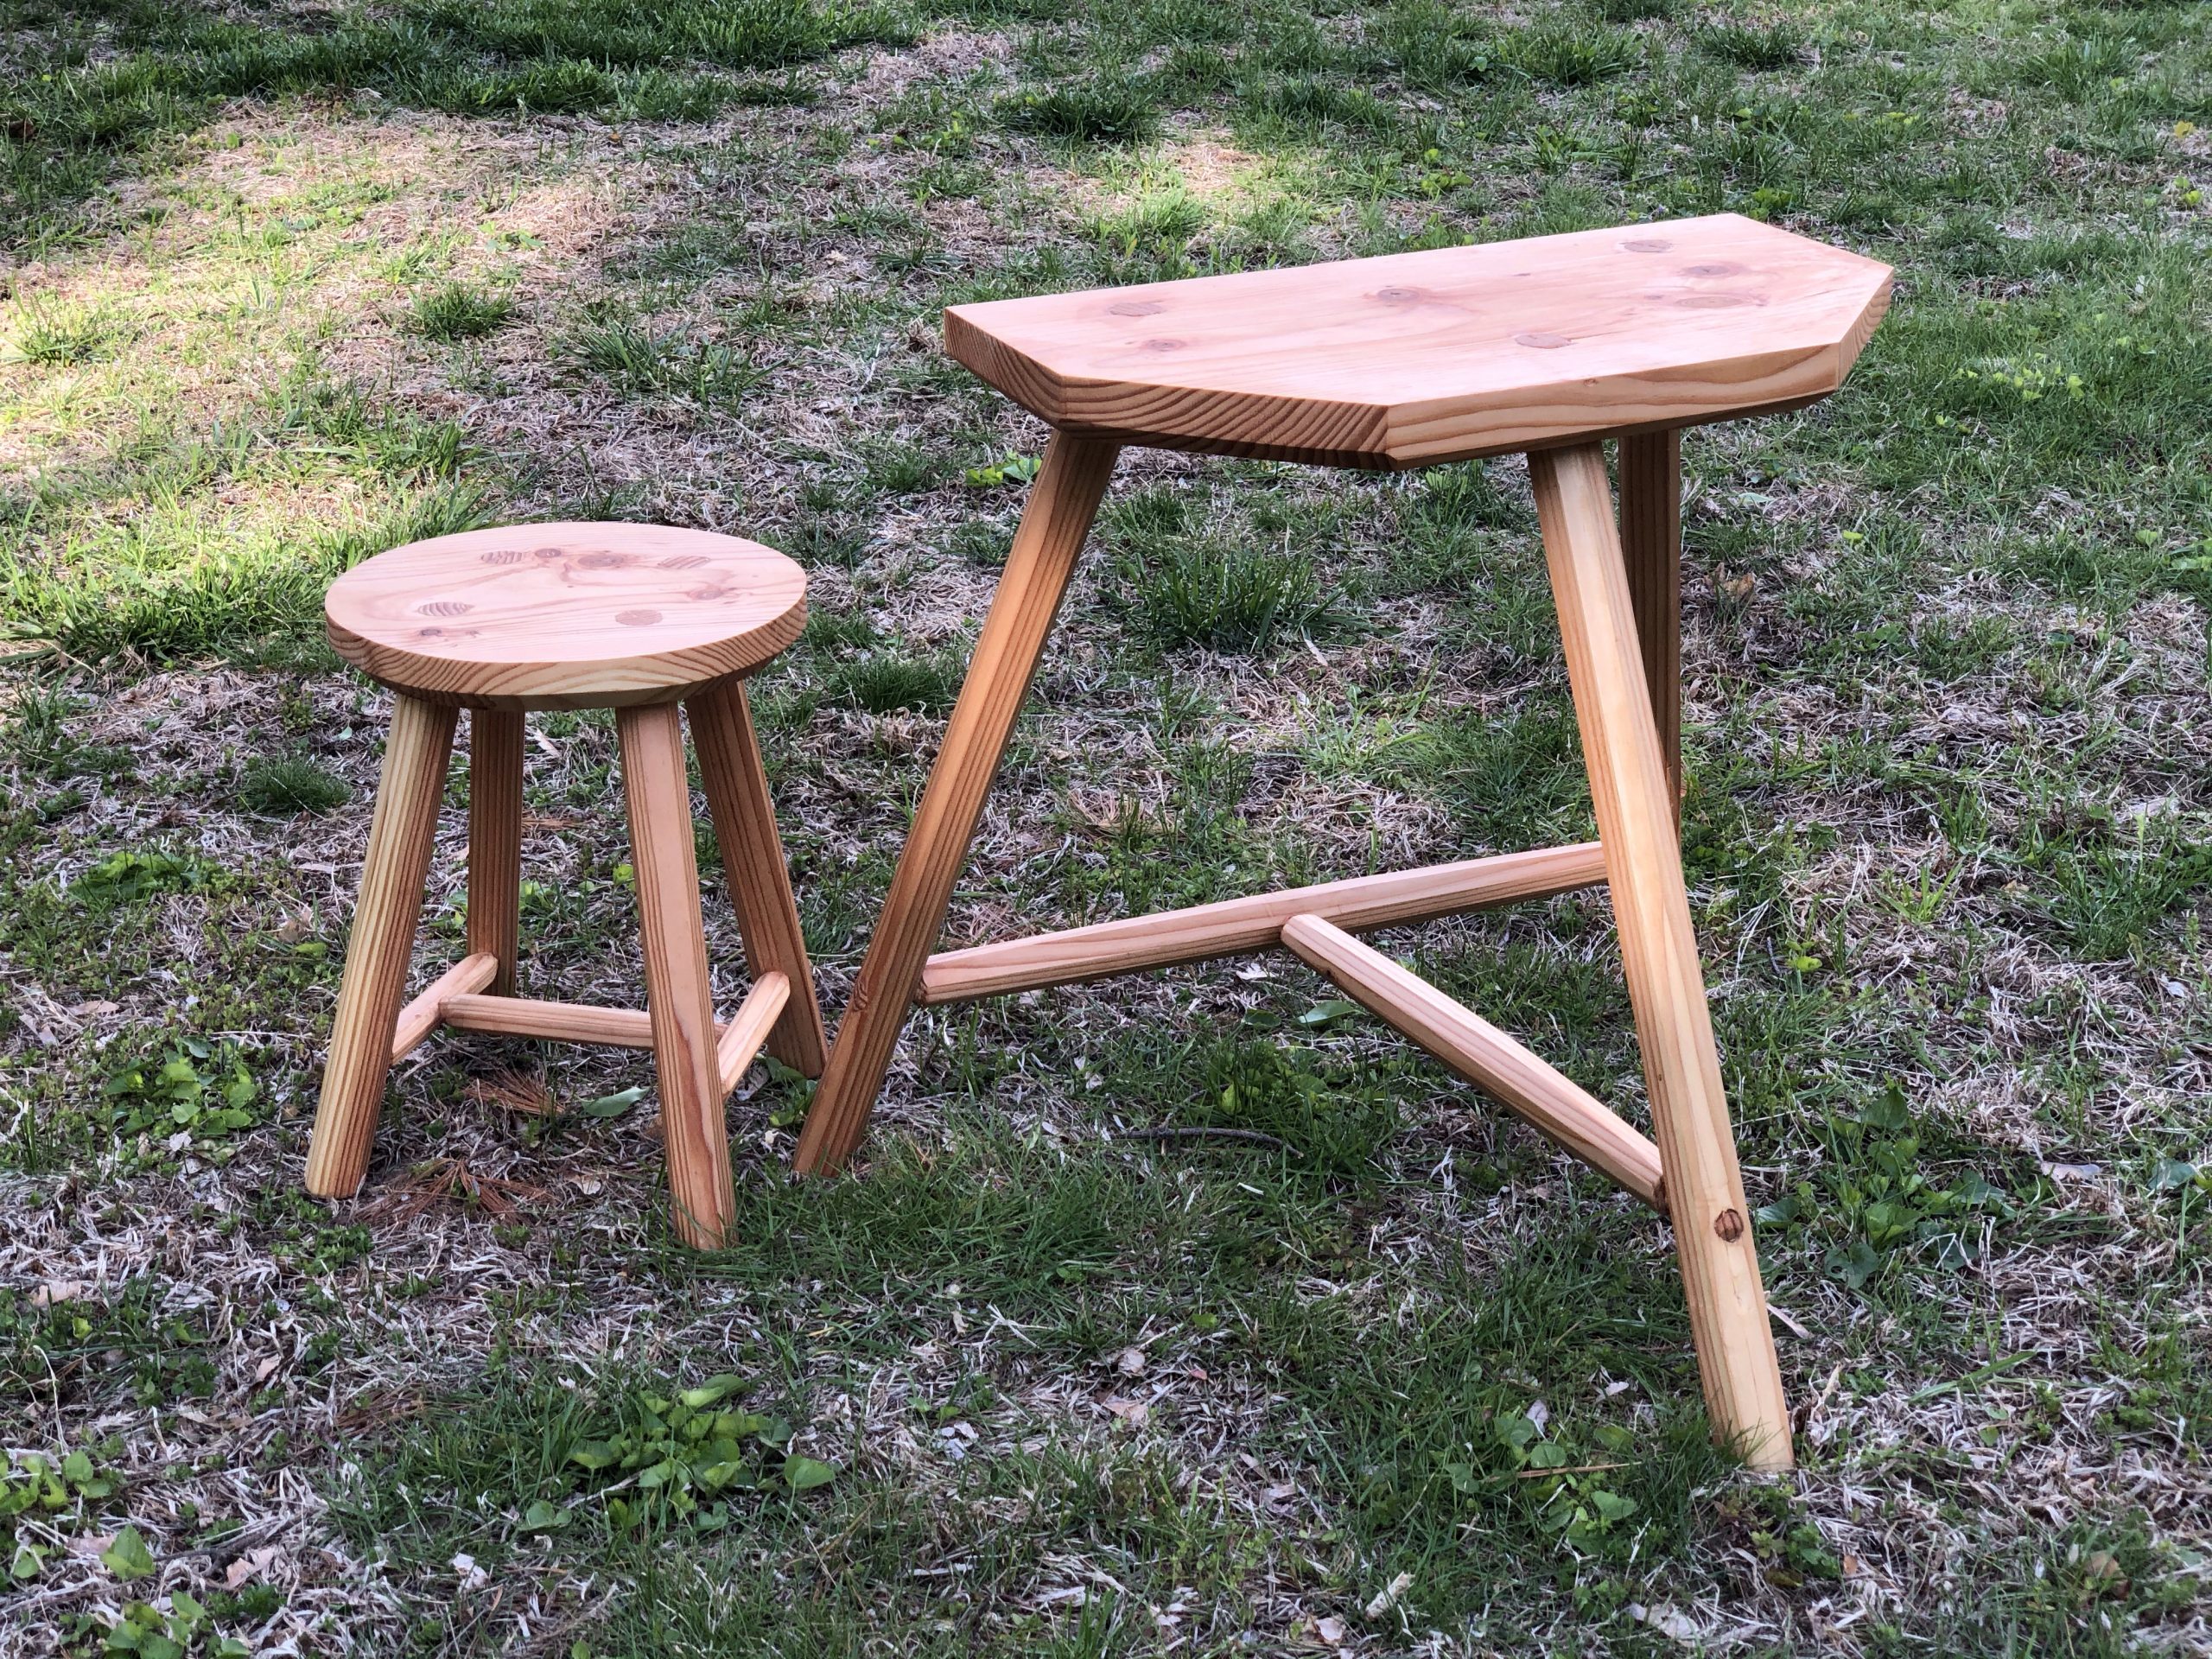
Here are the finished stools!

I finished both with boiled linseed oil and beeswax.

The low stool lives in my office as a small side table next to my reading chair, where it is often adorned with books and coffee. The high stool lives in my shop and I use it every time I’m in there, whether while carving, working at the bench, or just taking a break. We often pull it out and use it as a s’mores station by the campfire, too.

What’s next?

I’m planning on making another low stool with a hardwood seat. I have both Cherry and Oak right now and can do a glue-up.

After that, I want to make a staked back chair without arms. Working my way up!


One response to “Two Staked Wooden Stools from The Anarchist’s Design Book”

  1. Back in September I made a serious effort to learn how to turn wood on the lathe. I turned a few tenons on the stool legs earlier this year, but that is it. I was on the hunt for a good beginner project and Amanda asked for some candlesticks, so I got to work.

    As far as beginner/learning projects go, simple candlesticks are a great option. They take more planning than just making something round, but can be as simple or as fancy as you’d like. I didn’t get very fancy. I kept these to simple curves and let the wood grain shine.

    I made three sets:

    5 pine2 cherry, one with a live edge3 oak, all with a live edgeThe Pine

    I made the five pine candlesticks from a Douglas fir 4×4 post left over from making our garden boxes this spring. They were inspired by a set that Amanda saw at West Elm.

    I turned two individually, then planned ahead and turned three at once:

    I finished them with mineral oil and beeswax. We used them at Thanksgiving and now have them on our mantle:

    The Cherry

    I turned the cherry candlesticks from some beautiful black cherry wood that my friends Erin and Tyler brought to me from a tree that they had cut down on their property. I sent these candlesticks as a thank you.

    Since I turned these from a small log that the bark was still on, the grain pattern is completely different than the pine. It also had some cool bug damage inside that I kept. I chose to give one of them a live edge by leaving the bark on. I also finished these with mineral oil and beeswax.

    They look great on Erin and Tyler’s mantle.

    The Oak

    The oak candlesticks came from a limb off of a huge oak that fell in the woods at the end of our street. The trunk of the tree was pretty rotten, but the limbs I cut had some beautiful spalting. I loved the live edge I put on one of the cherry candlesticks, so I decided to make all three of these live edge.

    In progressLetting the green wood dry out pre-sandingI made a leveling jig to level the tops of these.

    Finished!

    What I learned about turning through this project:

    Sharp chisels make a world of difference. I bought a jig to make sharpening on the Shopsmith faster and easier.Turning green wood (the oak) is very fast in the initial stages, but then it needs to dry for a few days before final shaping and sanding.How to center irregularly shaped pieces of wood.How to turn multiple items at once with a little planning.Never turn something without planning it out first. “Figuring it out as you go” doesn’t work very well on a lathe. Sanding something to 220 grit vs 800 grit makes a big difference. 800 almost makes the piece shine.Sanding is easier with long strips of sandpaper that you loop under the work piece vs pushing a piece of sandpaper against the piece with your hand.

Leave a Reply

Your email address will not be published. Required fields are marked *

%d bloggers like this: