

Over the winter of 2018/2019 and summer of 2019 I built two Cape Falcon F1 skin-on-frame style kayaks. I want to be better about documing my projects here, so I’m taking a few posts to document the backlog.
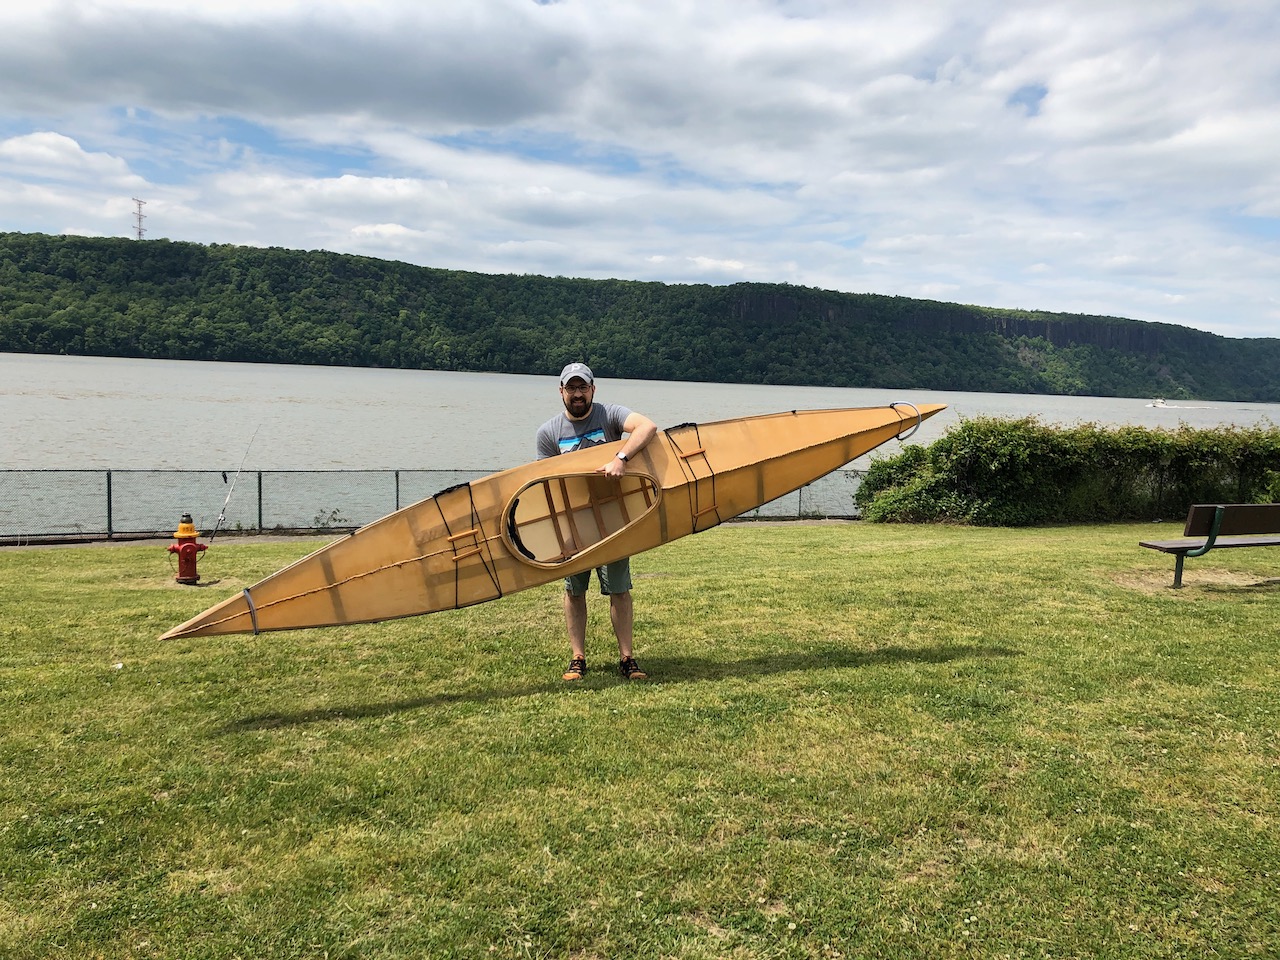
The primary benefit of a skin-on-frame style kayak is how light it is. They end up being ~30lbs, so they are easy to carry with one arm and for one person to toss it on top of a car, not something you can do with a heavy fiberglass boat.
These specific boats were designed by Brian Schulz of Cape Falcon Kayak and I used a combination of his excellent online courses to learn how to build them, plus the tutelage of Jack Gilman of YPRC Boatbuilders and Jon Richer of Hudson Boat Company.
The First Build
The first build was as a group with YPRC and took place from October 2018 to May 2019, with a two month break in the middle during the coldest part of the winter. Six of us built boats together twice a week and roughly kept pace, helping each other out as we went along.
I honed a lot of important techniques through this build:
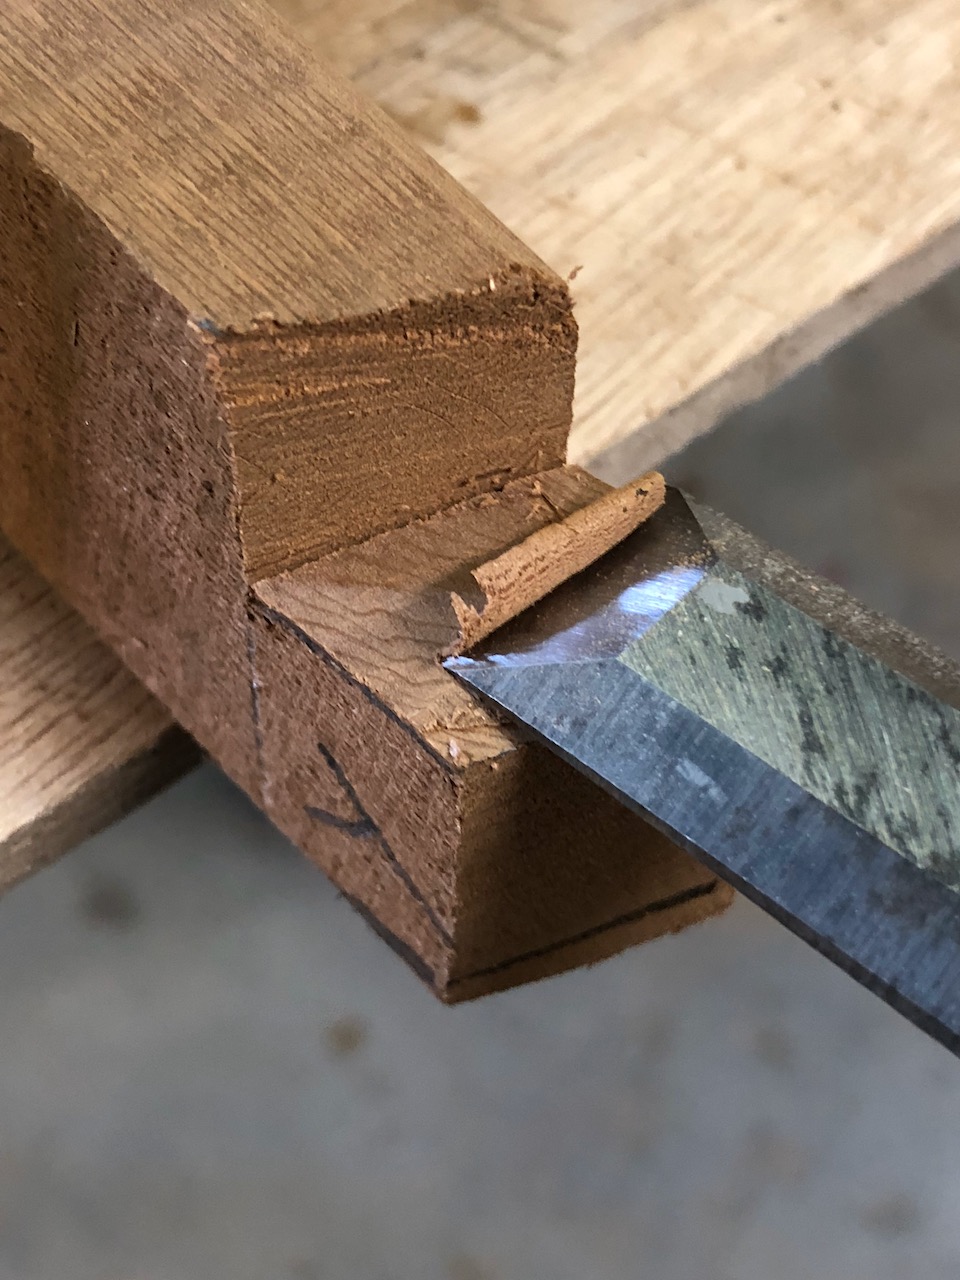
- chisel work
- using transfers and offsets rather than pure measurement
- building jigs to help build something else
- shaping with a block plane
- peg and lashing for connecting wood without nails or screws
- applying polyurethane
- steam bending
- fixing mistakes (skin-on-frame is a forgiving medium!)
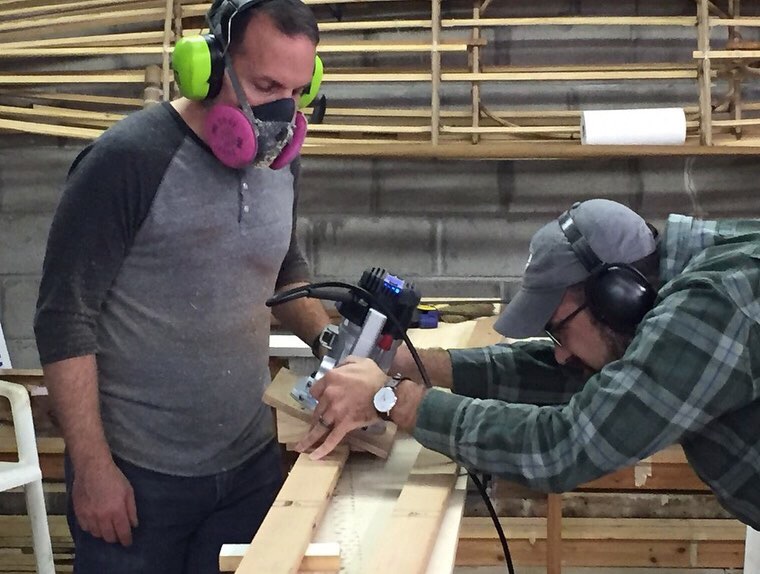
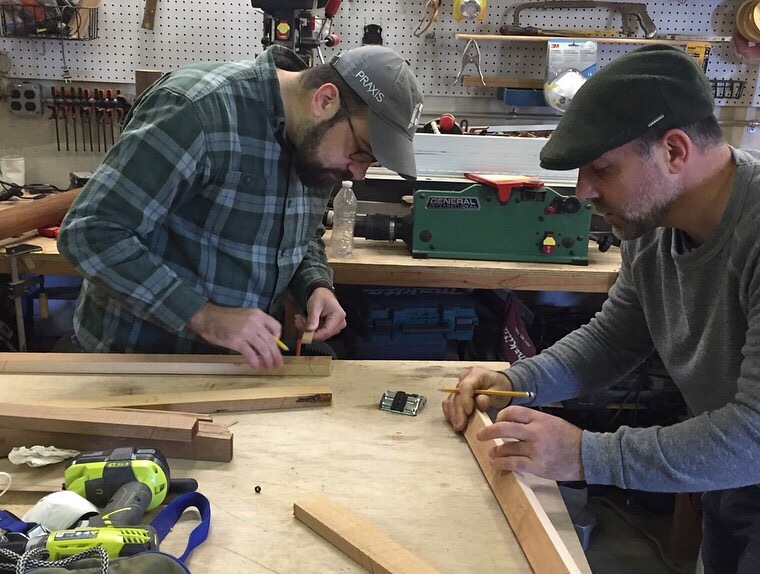
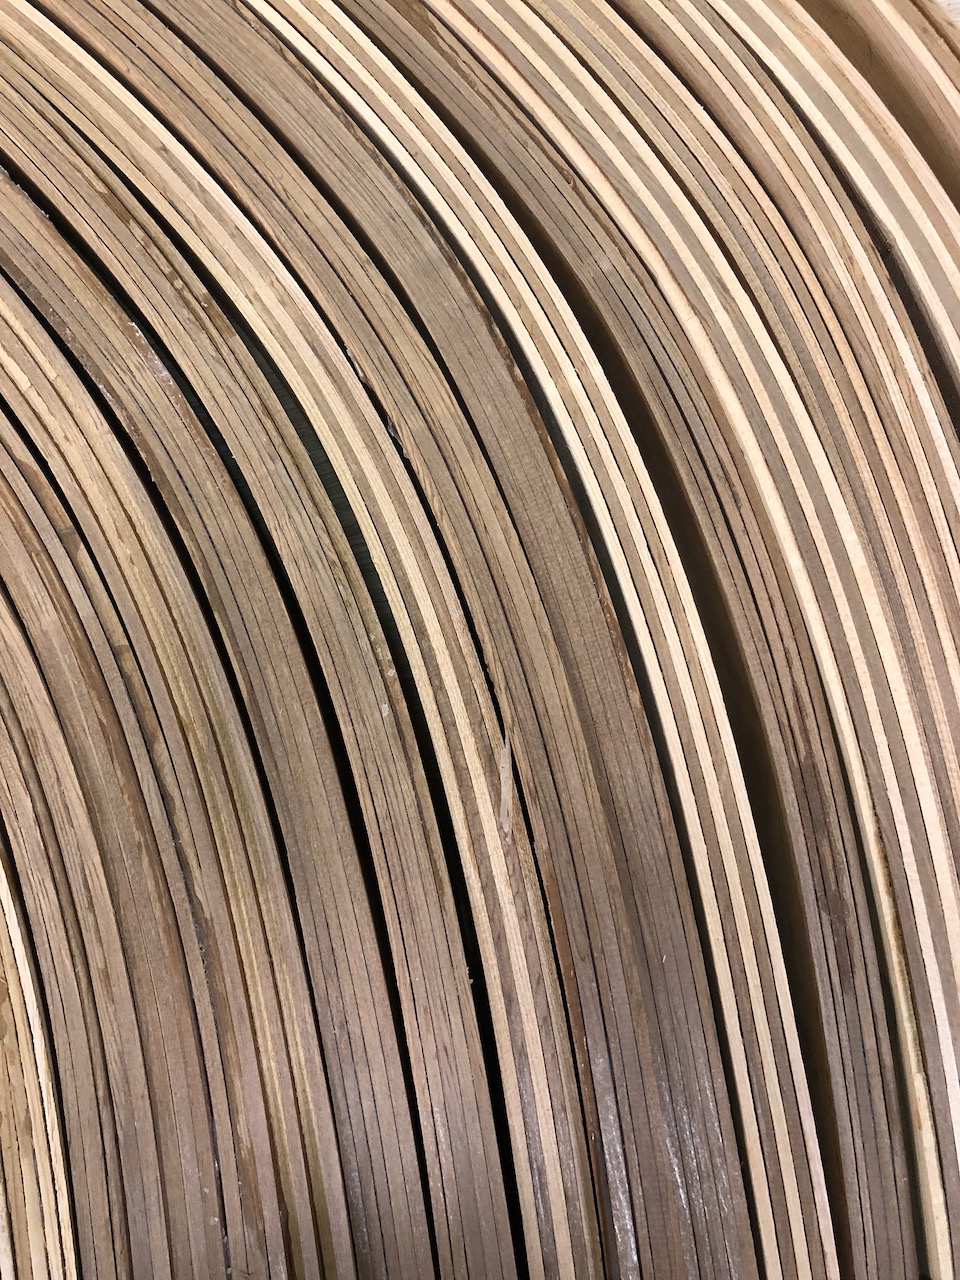
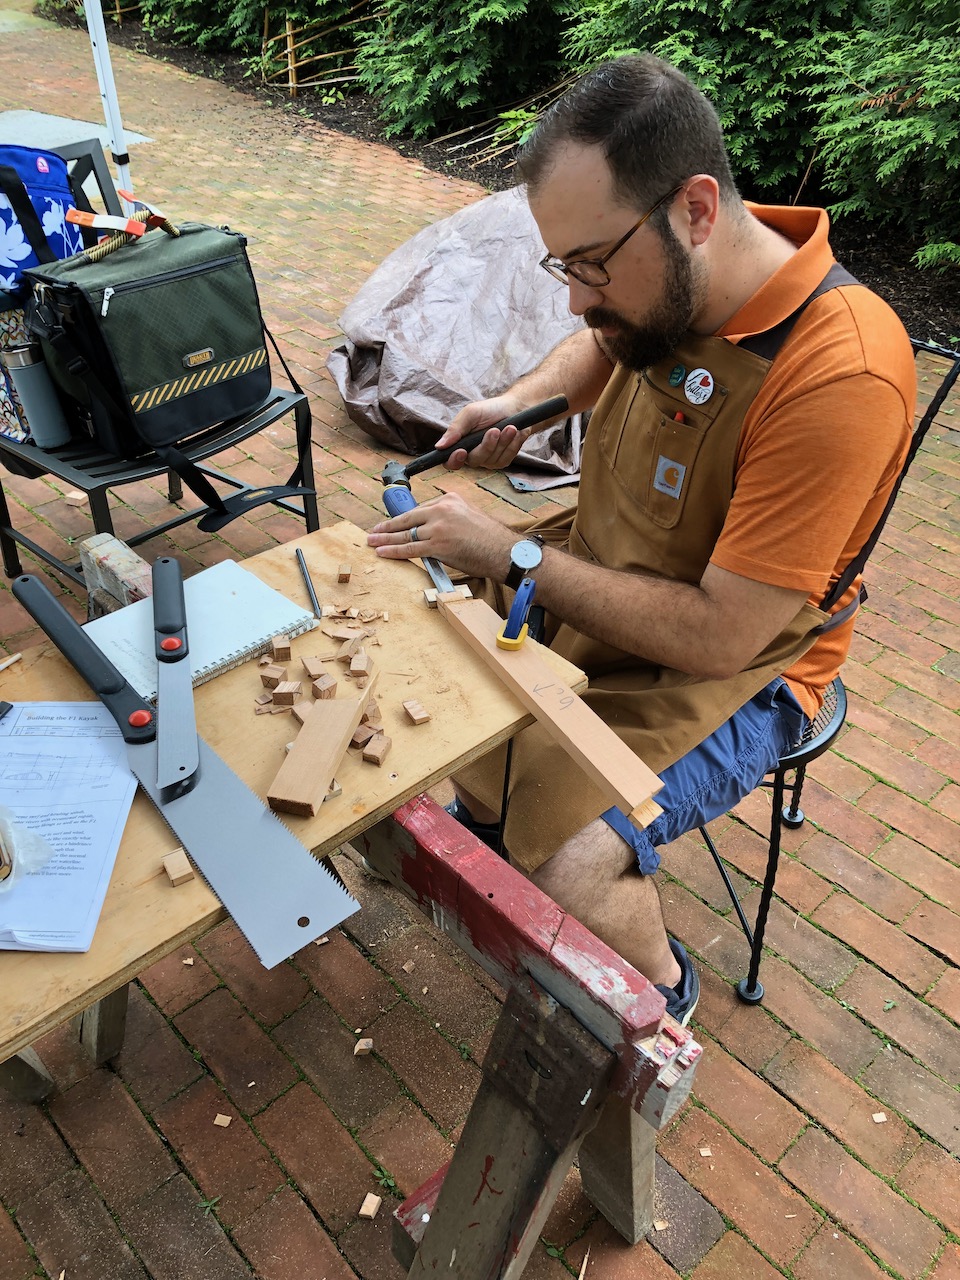
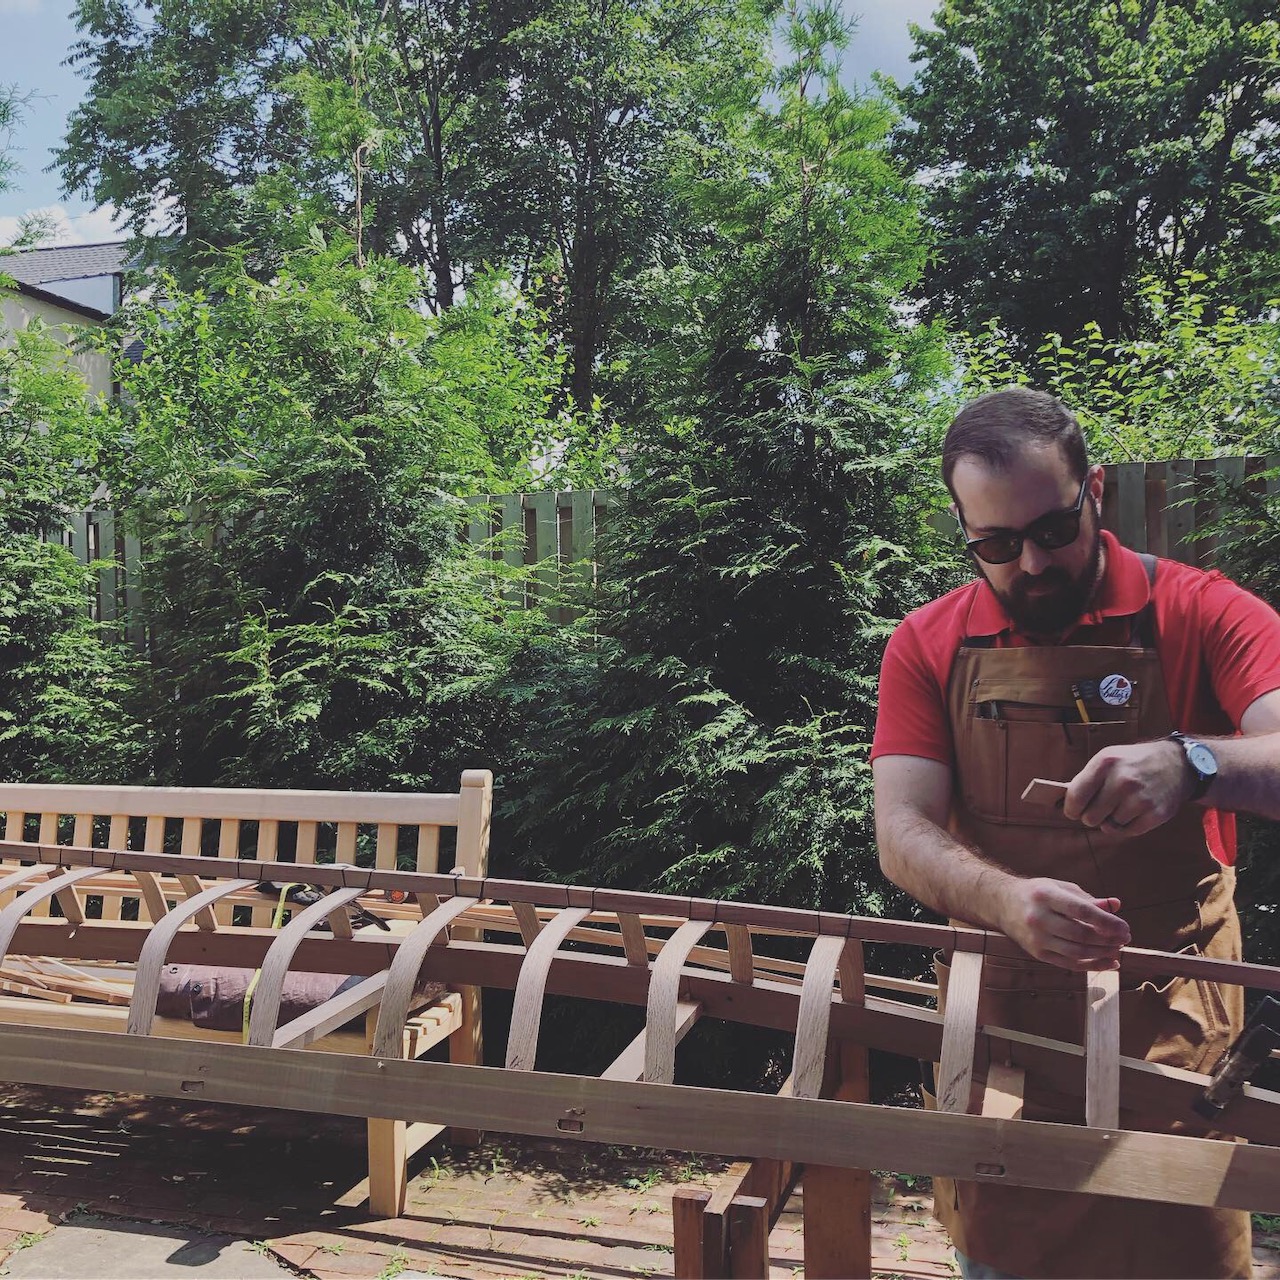
Routing the gunwales, laminating curved deck beams, chiseling straight deck beams, and assembling the frame:

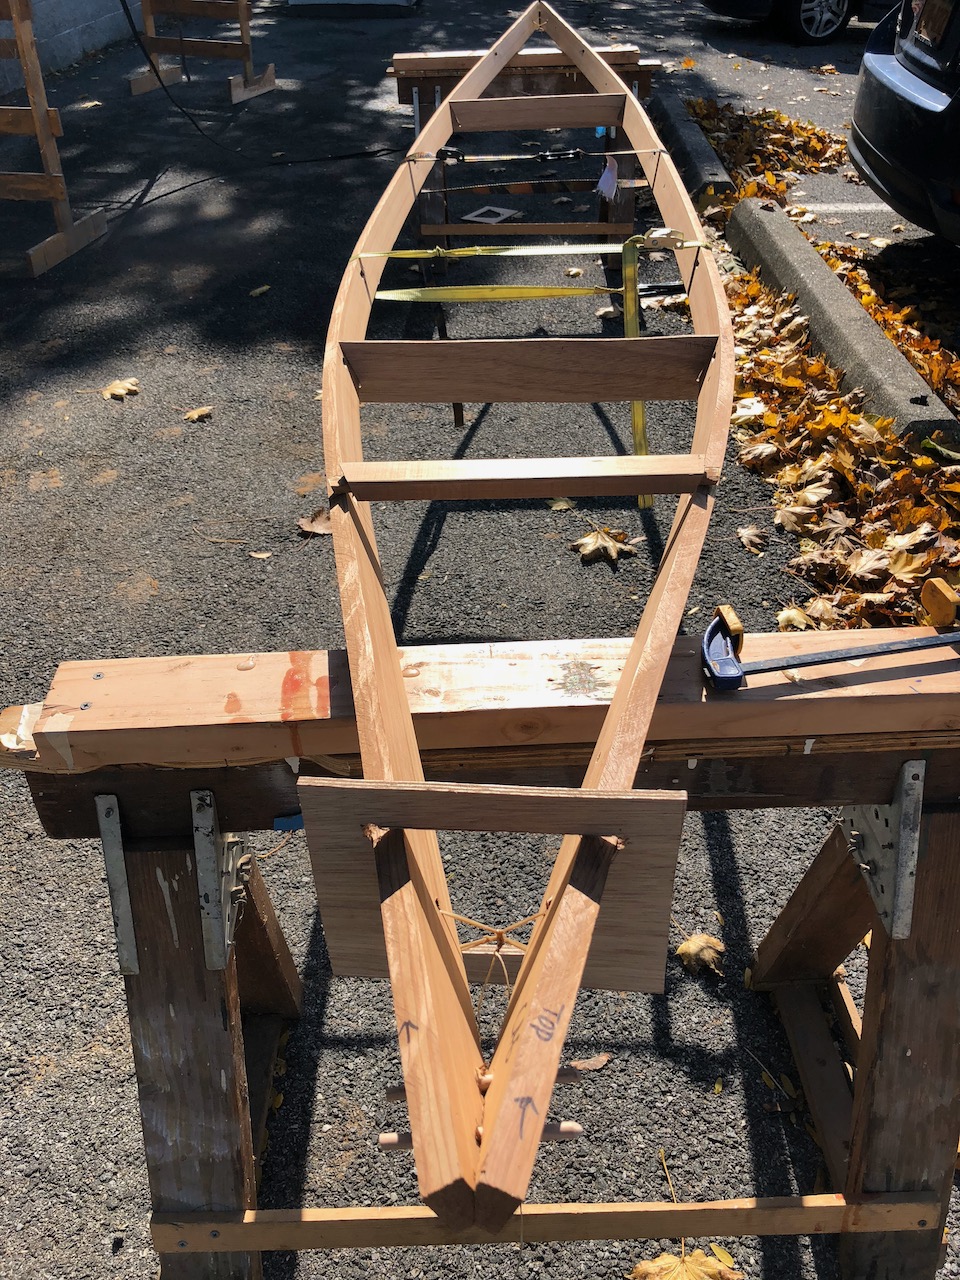


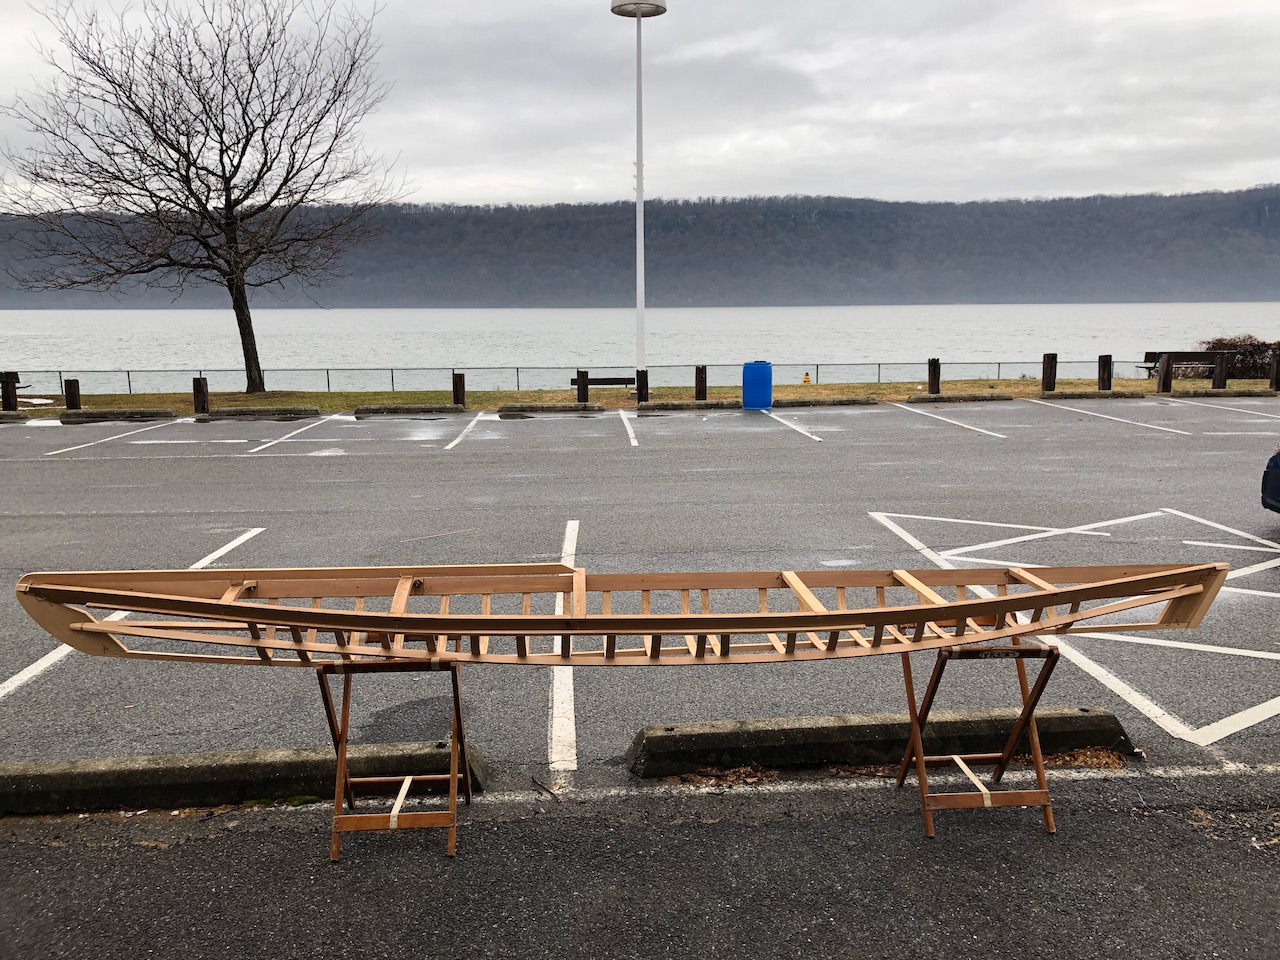
Steam bending ribs, lashing the keel and stringers, shaping the stem, and finishing the frame:


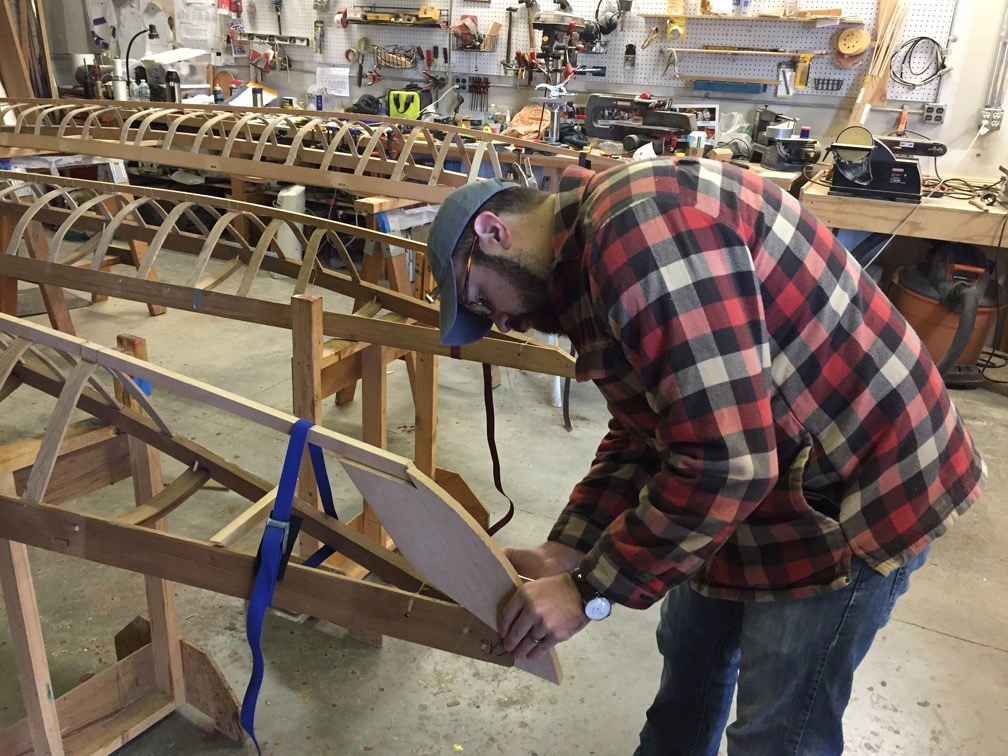


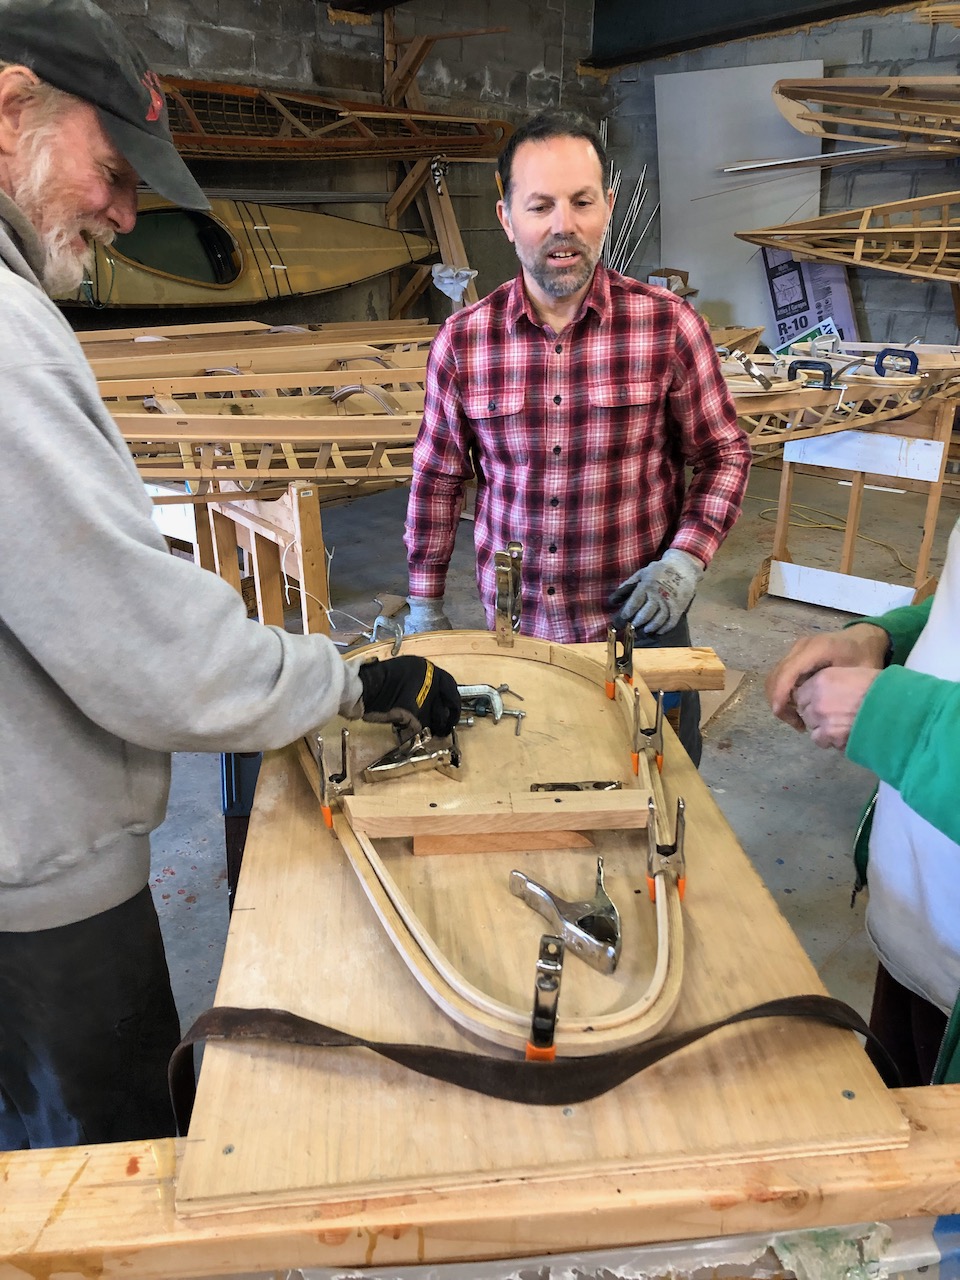
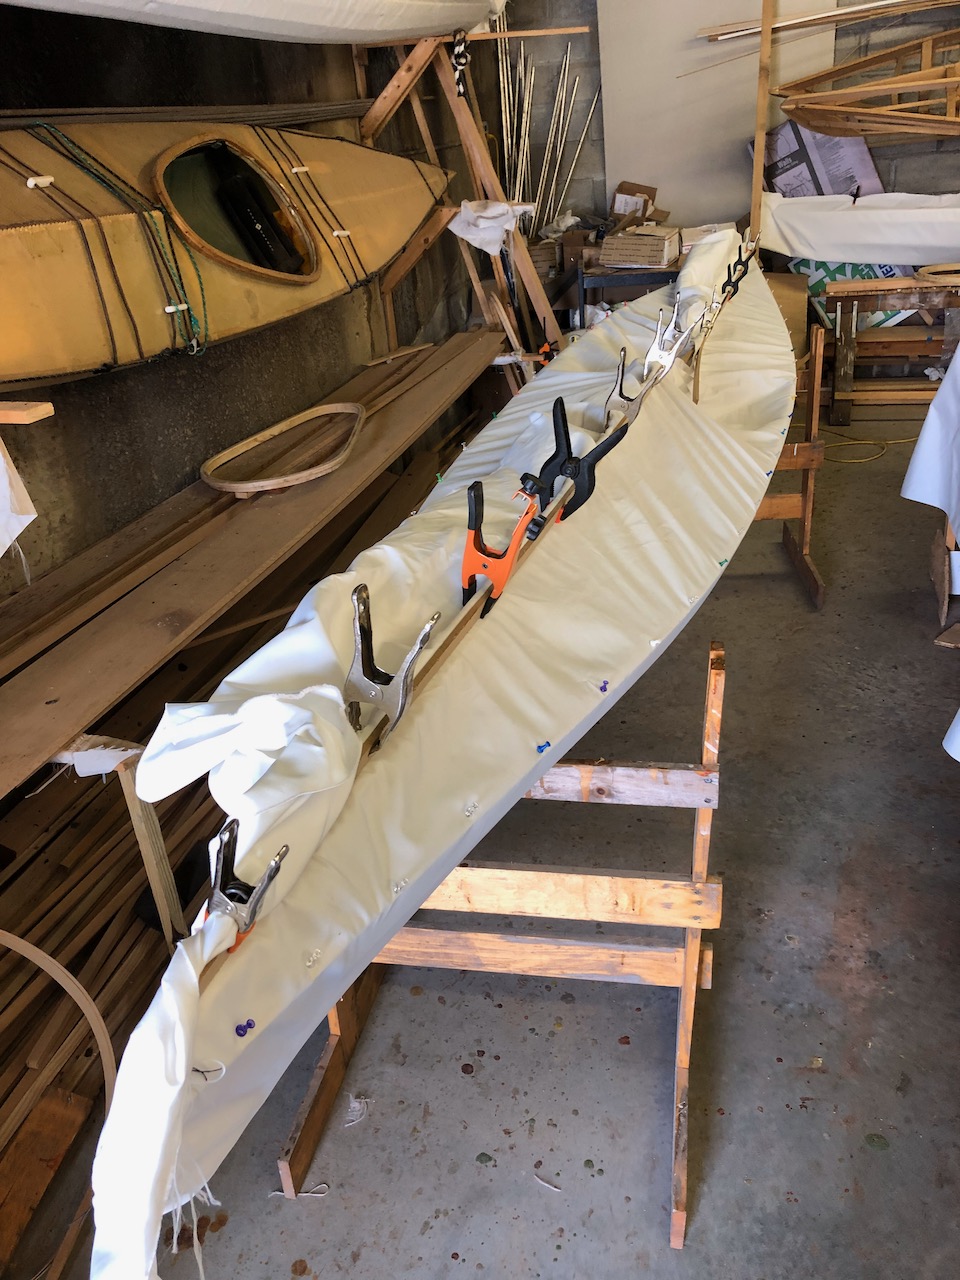
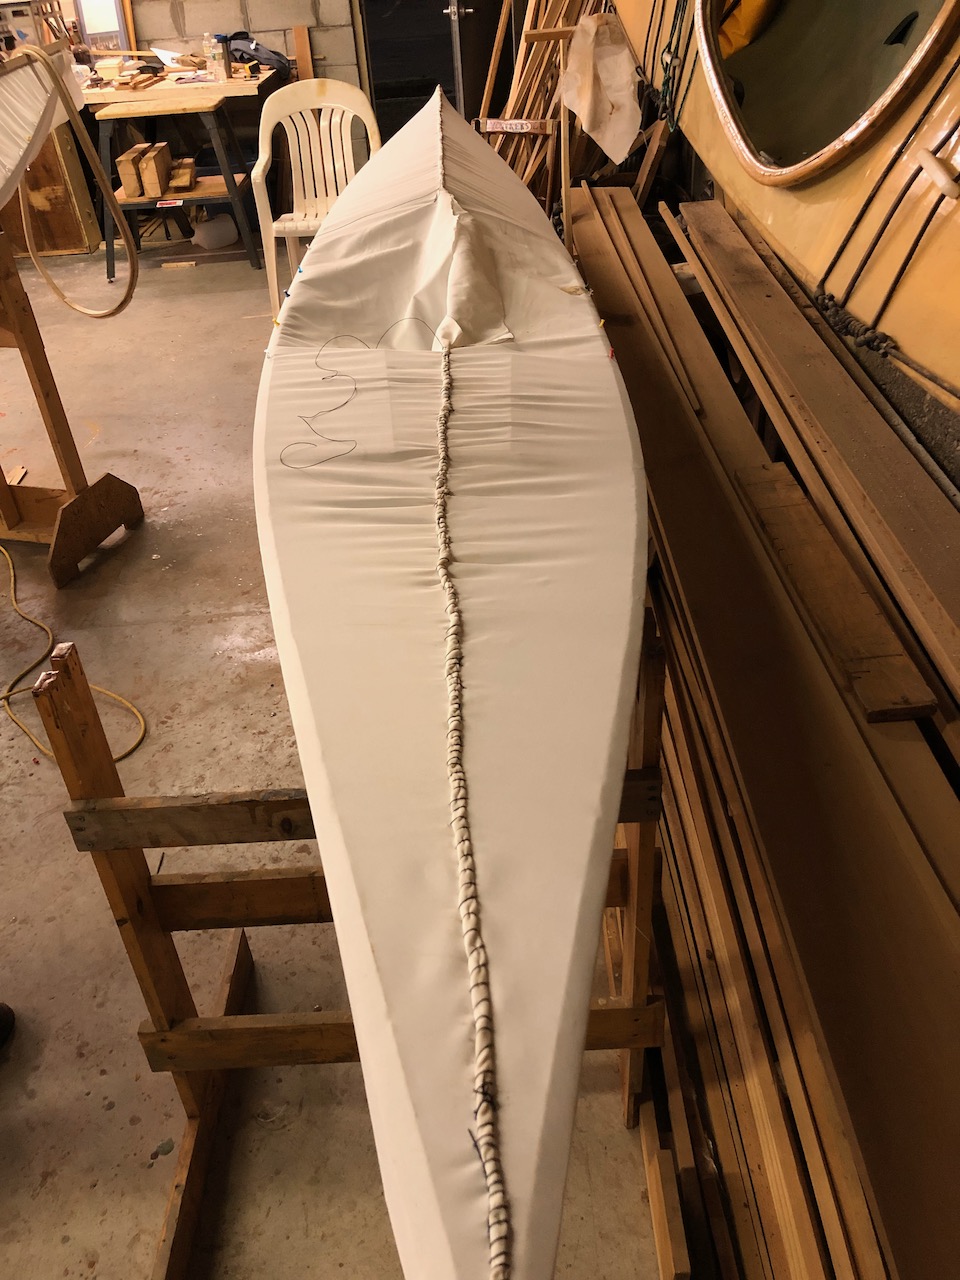
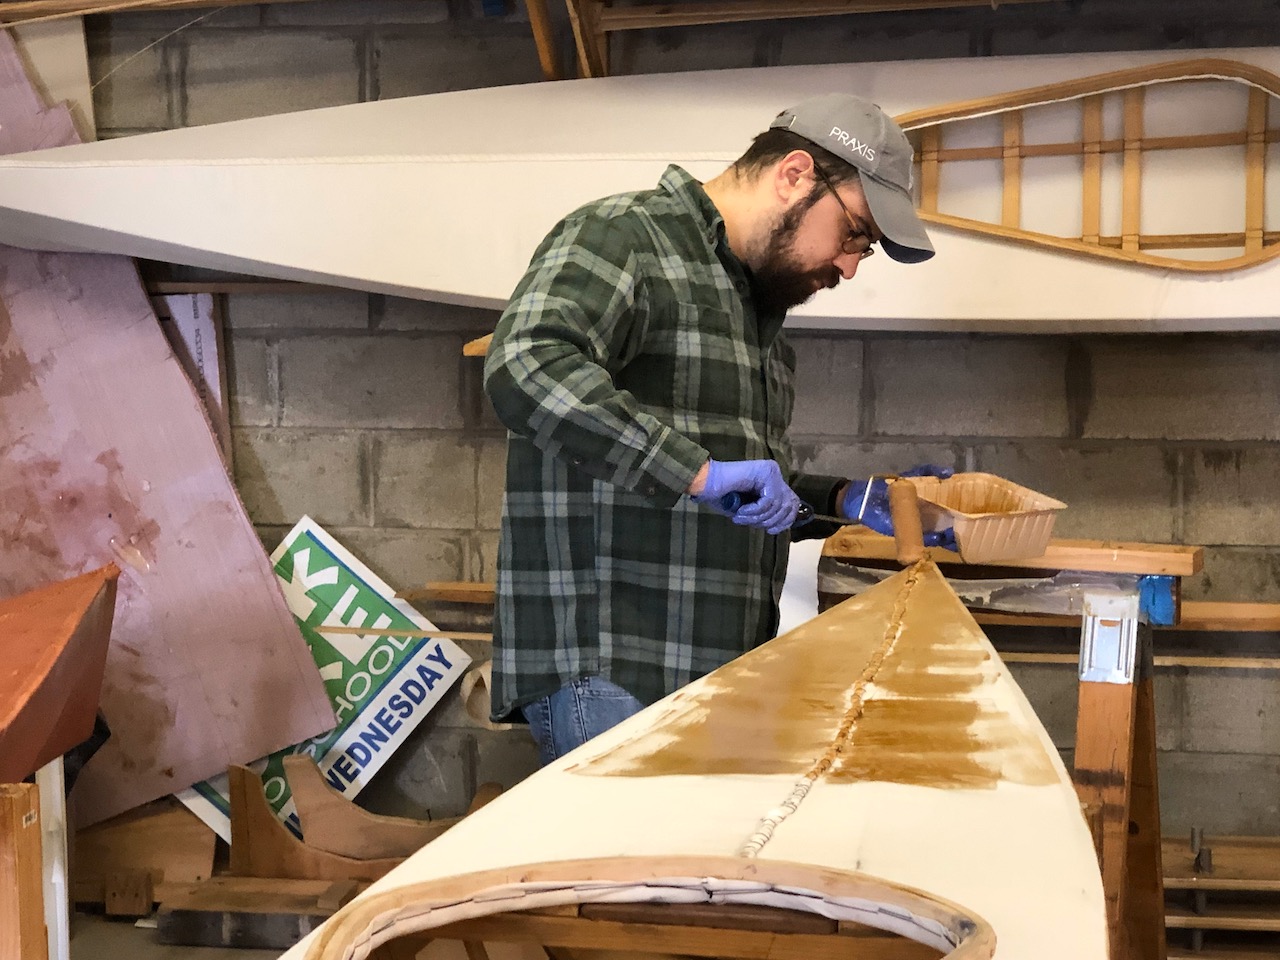
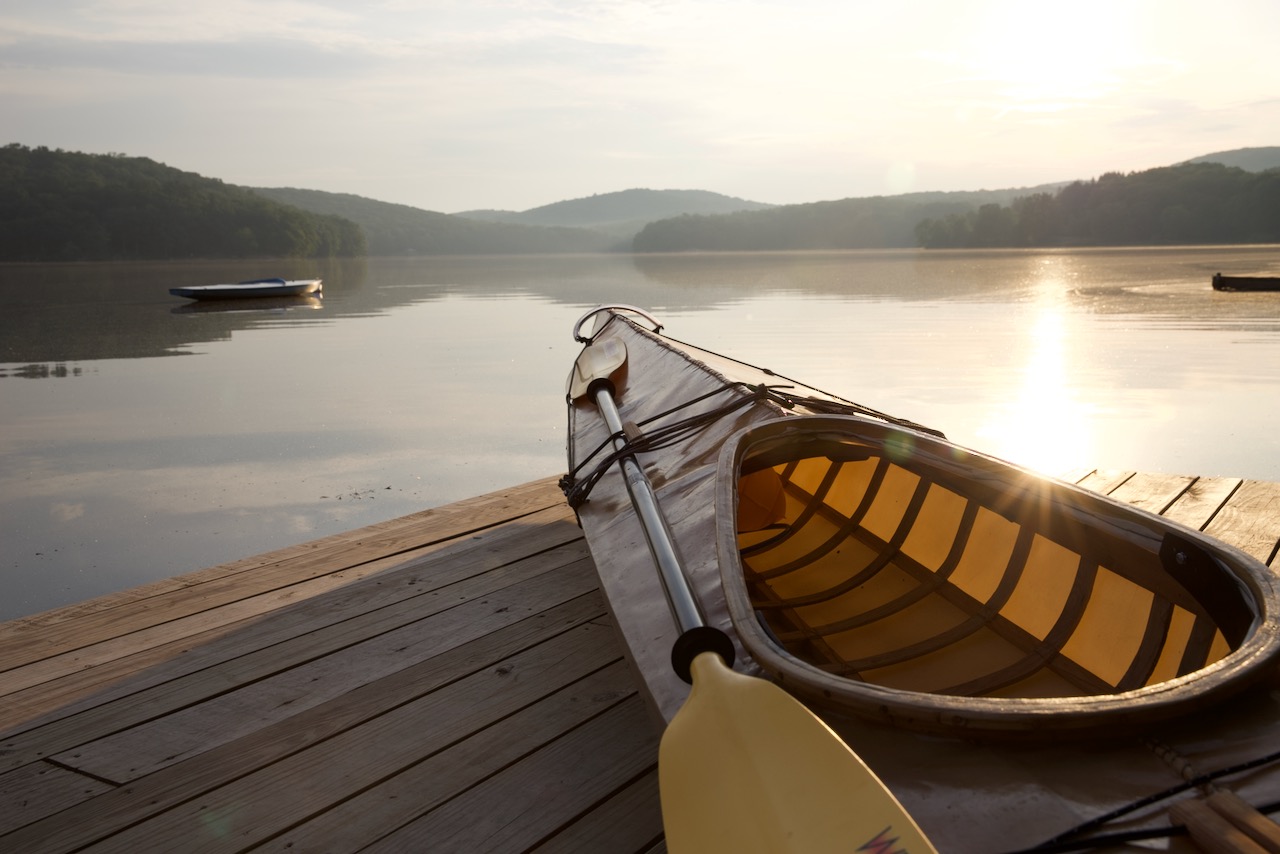
Making coamings, cutting and sewing the skin, and applying polyurethane coating.


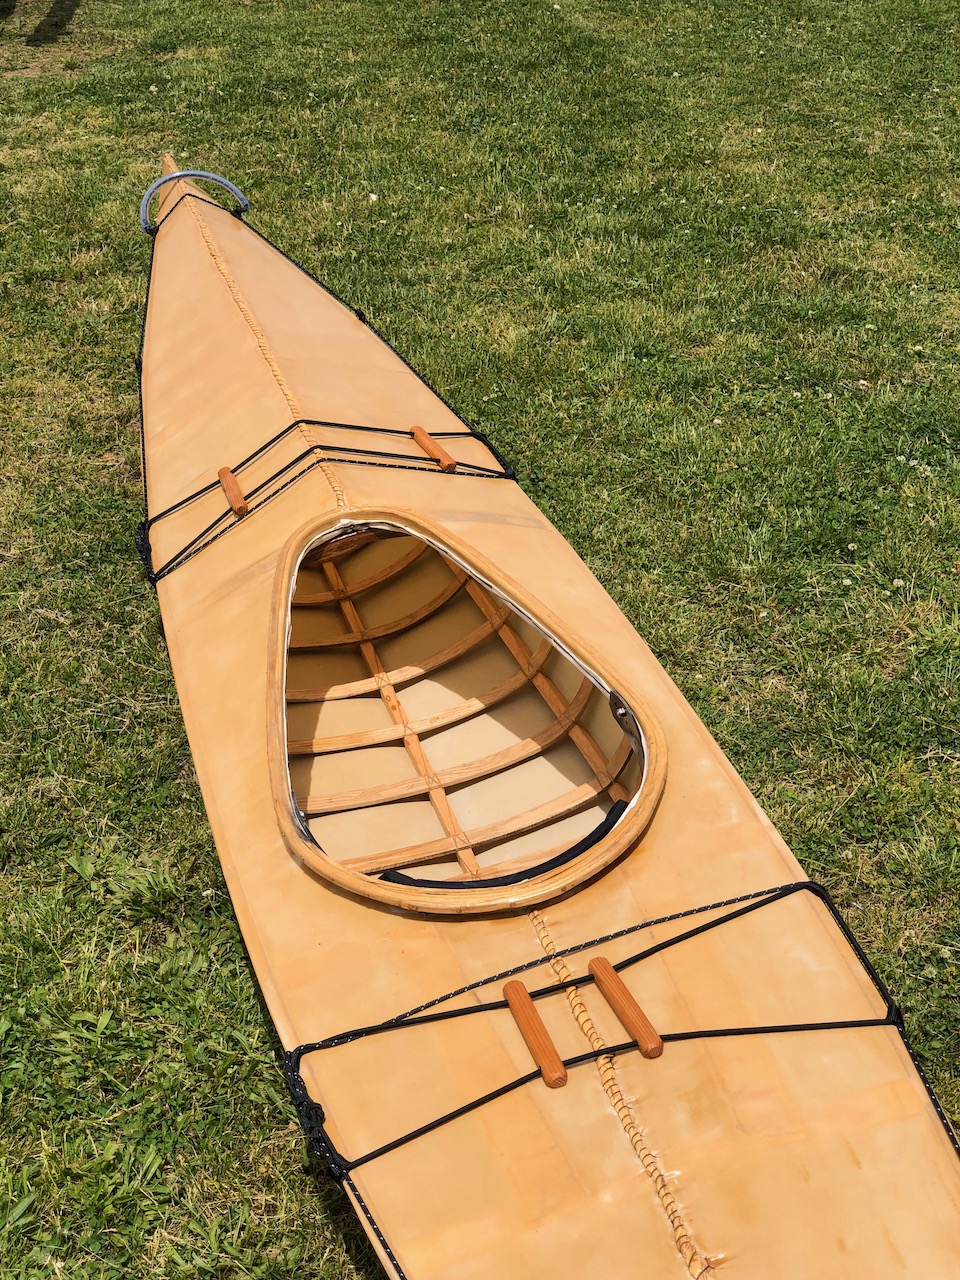
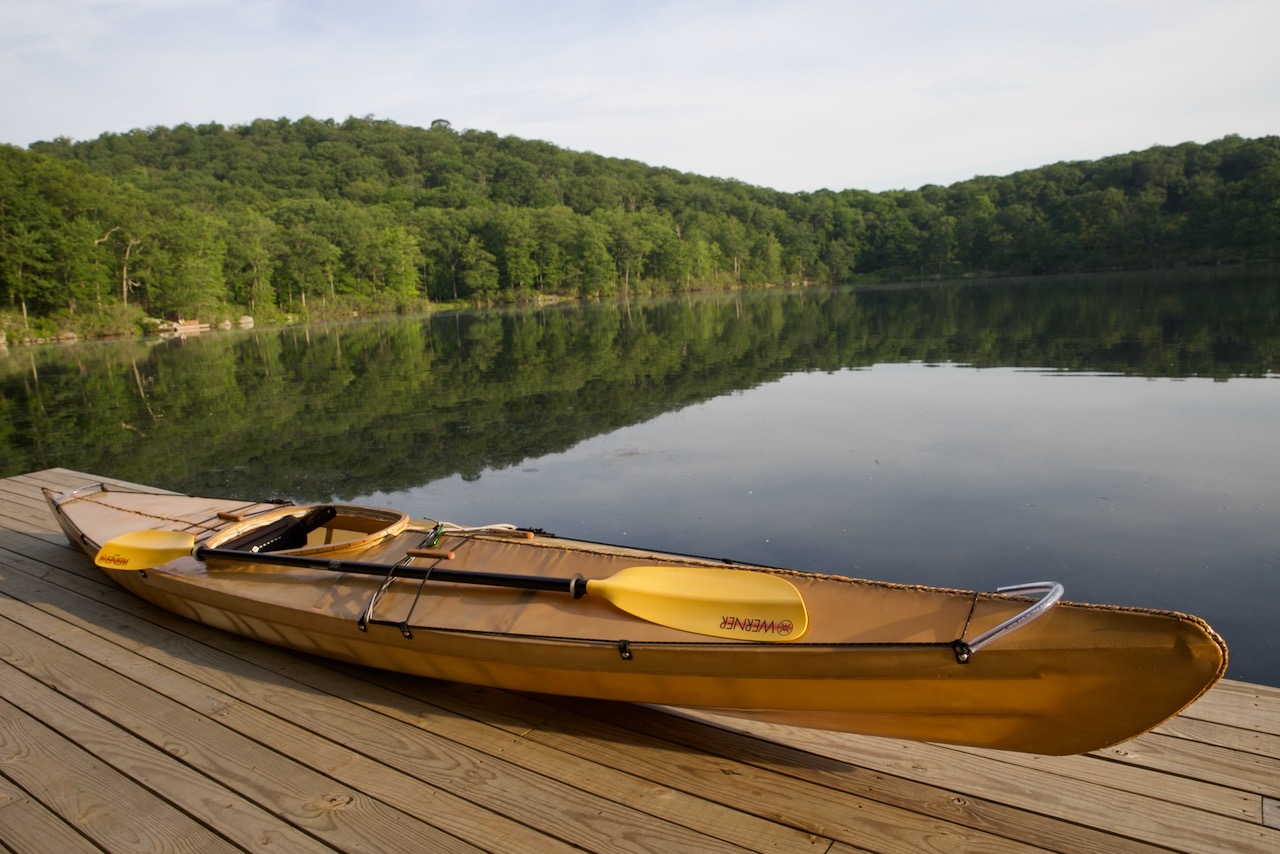
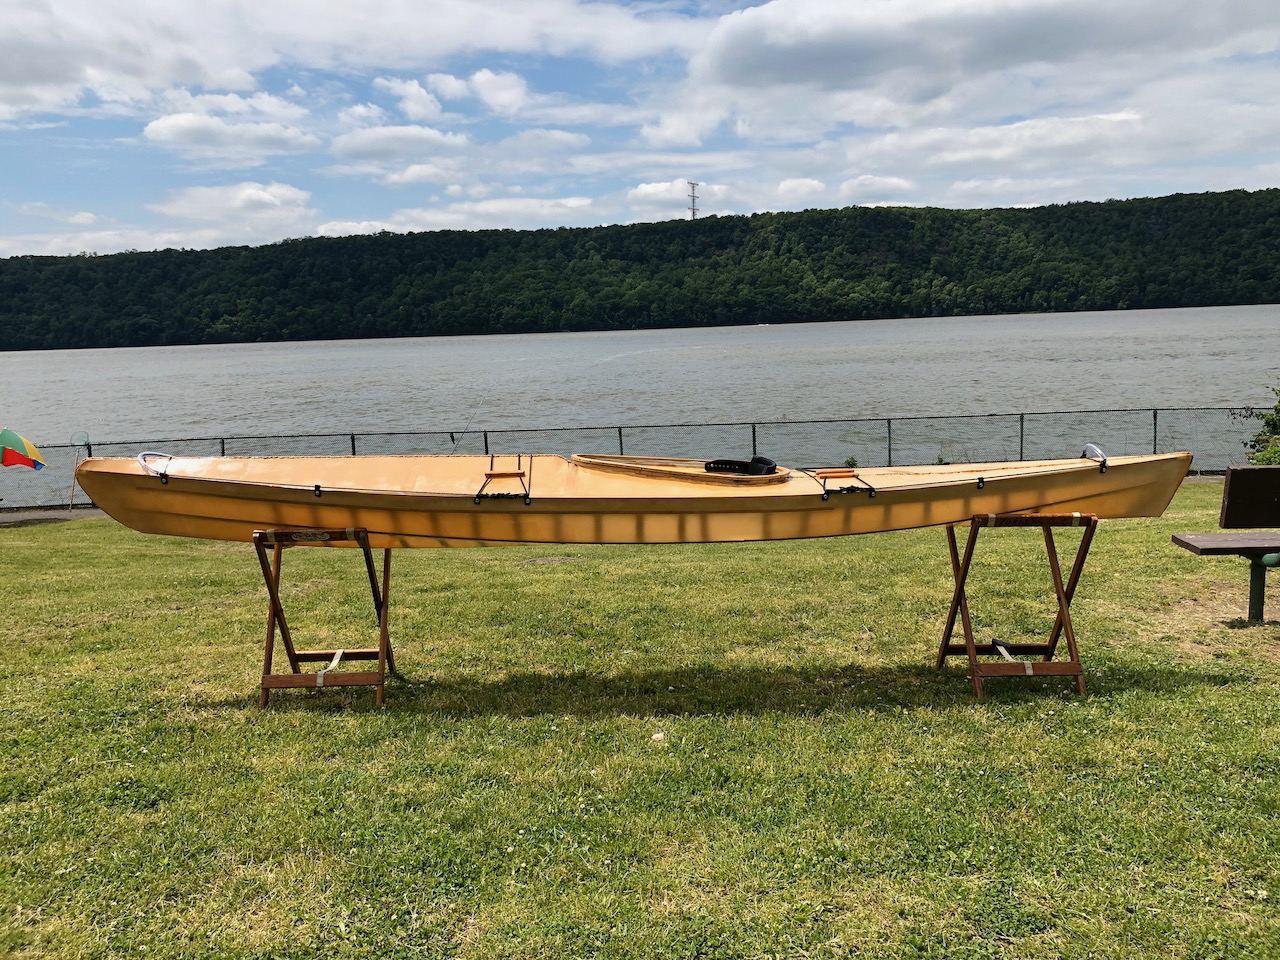
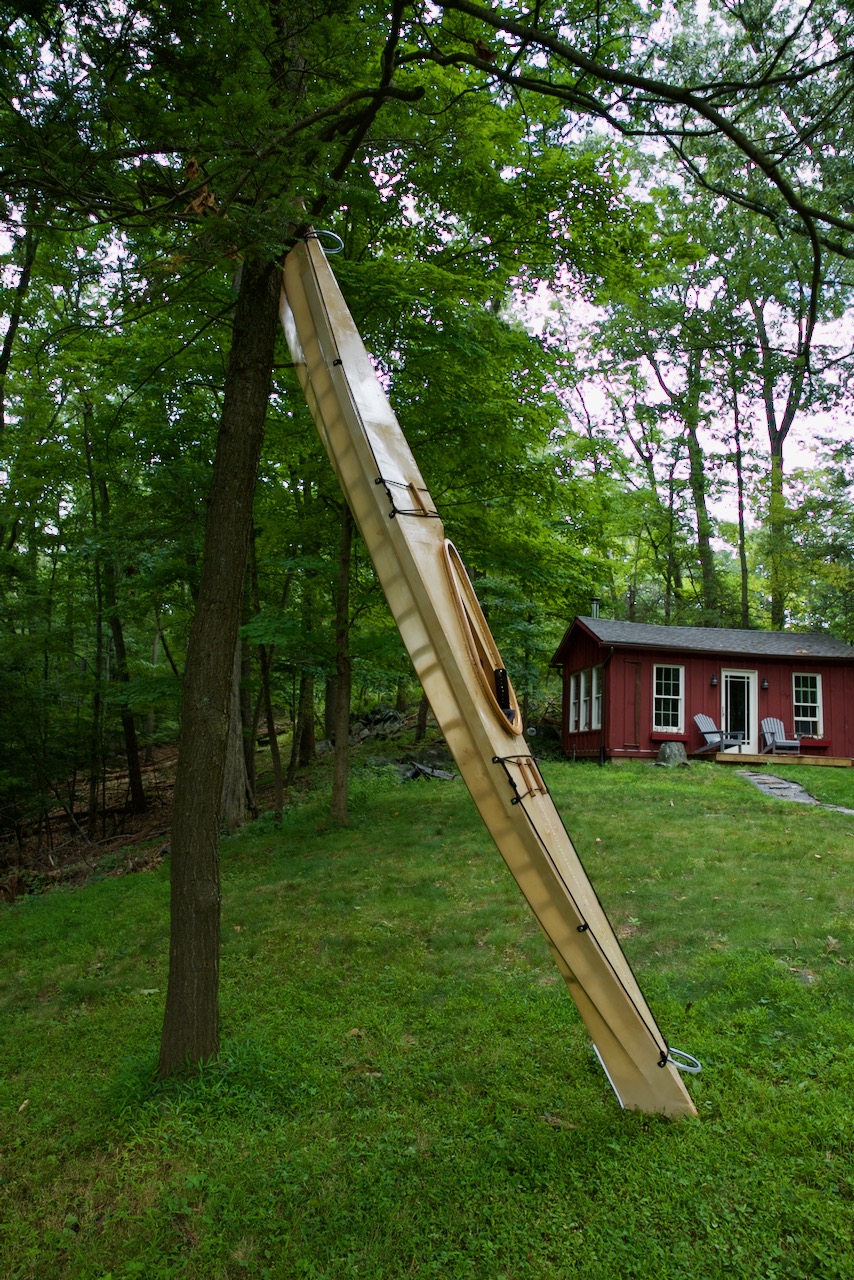
The finished boat!


The Second Build
After learning a lot on the first build, I teamed up with Jon Richer to build another alongside him at a faster pace so that Amanda could have her own kayak to go out in, too. We built two as a public demonstration at the Edward Hopper House Museum in Nyack, NY. We knocked it out in about 4 weekends with some travel in between. I was much more confident after having built the first one, which translated to a faster build time. It was a great feeling.
Things that we improved on the second build:
- We used red oak for the ribs, which bent a lot better than the ash we had in the first round.
- We cut all of the stock we needed in a single, albiet long, day, which saved us lots of setup time.
- We made the middle deck beams first, which means that if we mess up that one we can always use it for the small deck beam at the end, which is much shorter.
- We oiled the entire frame outside on a warm, sunny day, which allowed the oil to soak in better.
- We used a faster method for tightening and sewing the skin on, which made it a 4 hour endeavor instead of 2 day 8 hour endeavor.
- We were able to reuse some of the jigs we built in the first round, which sped things up.


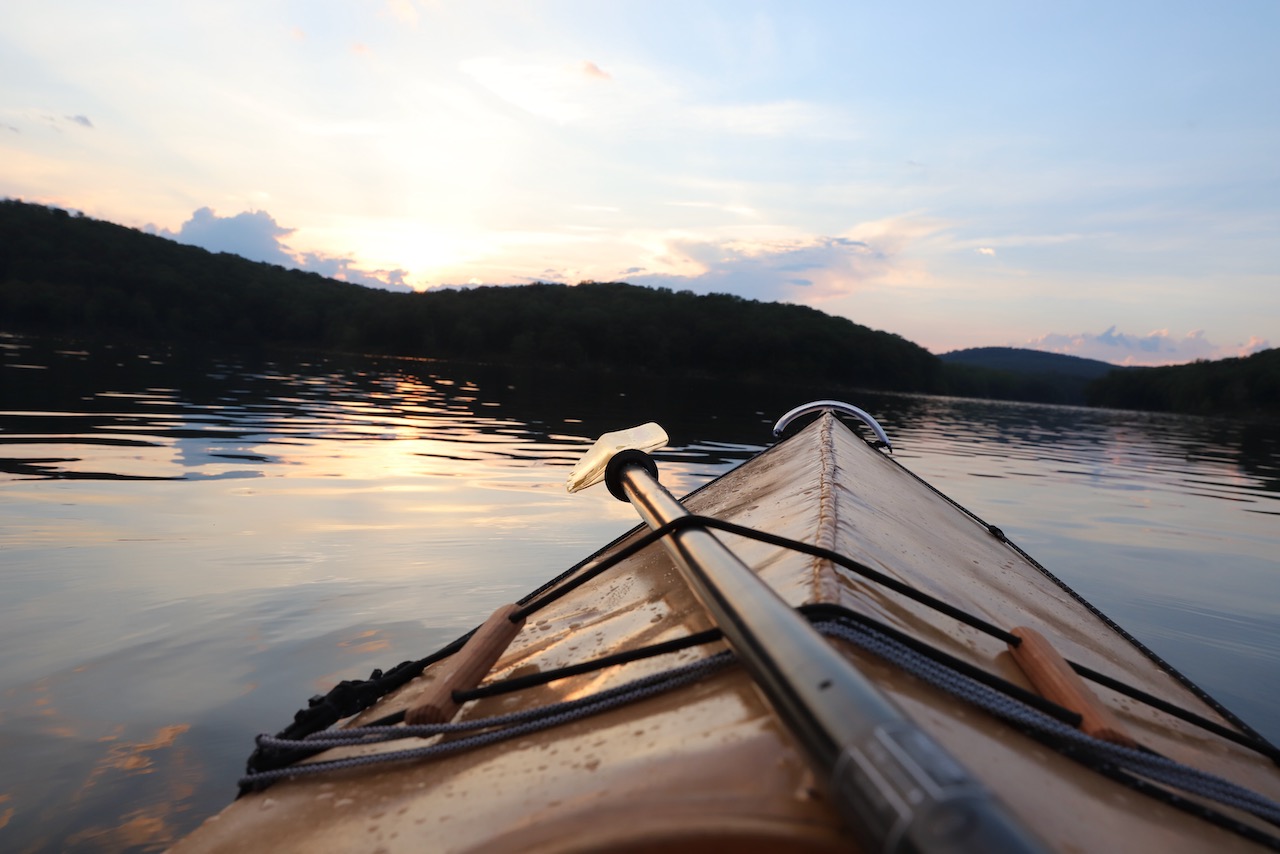
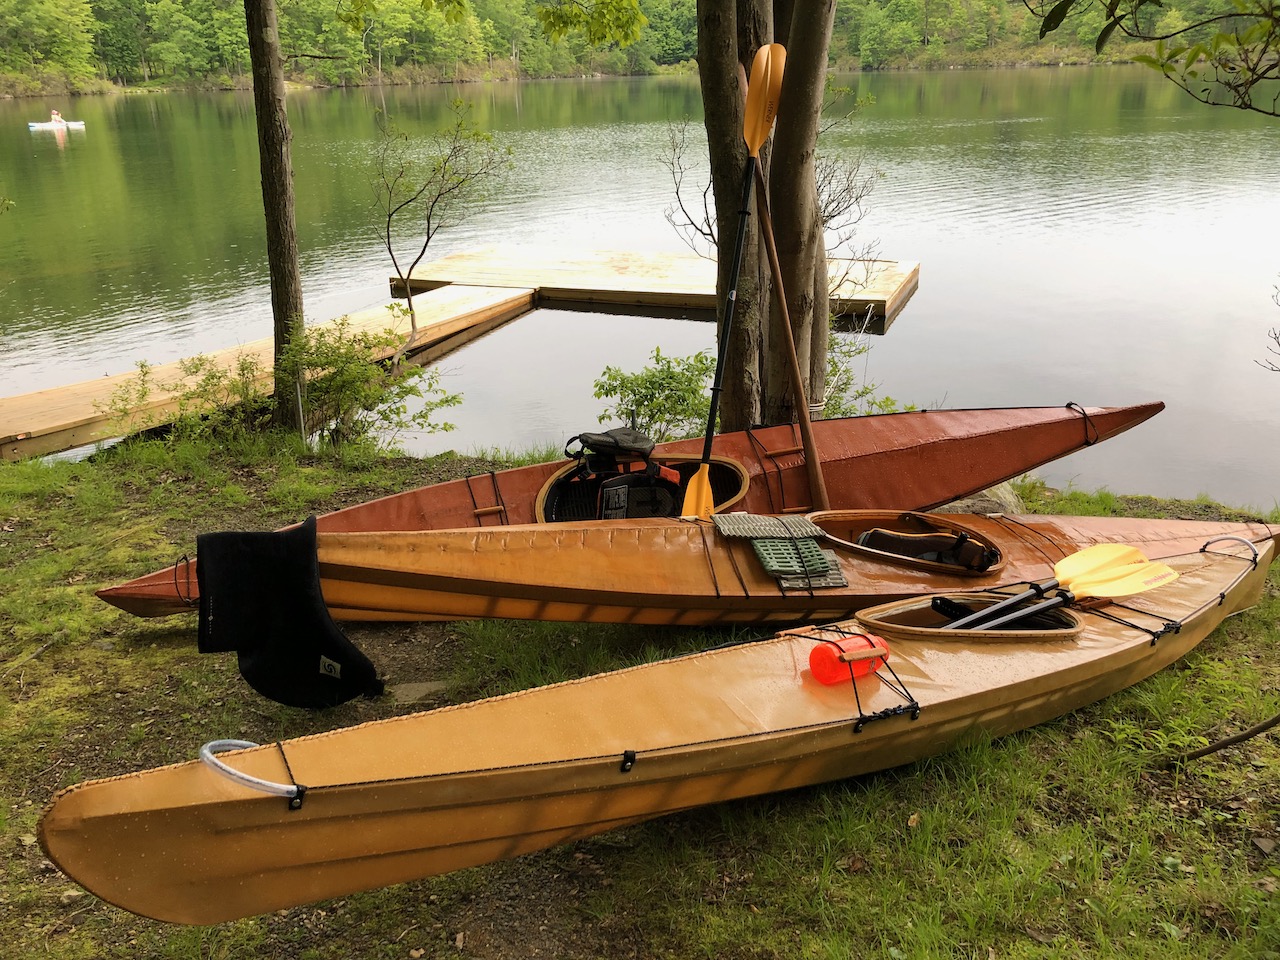
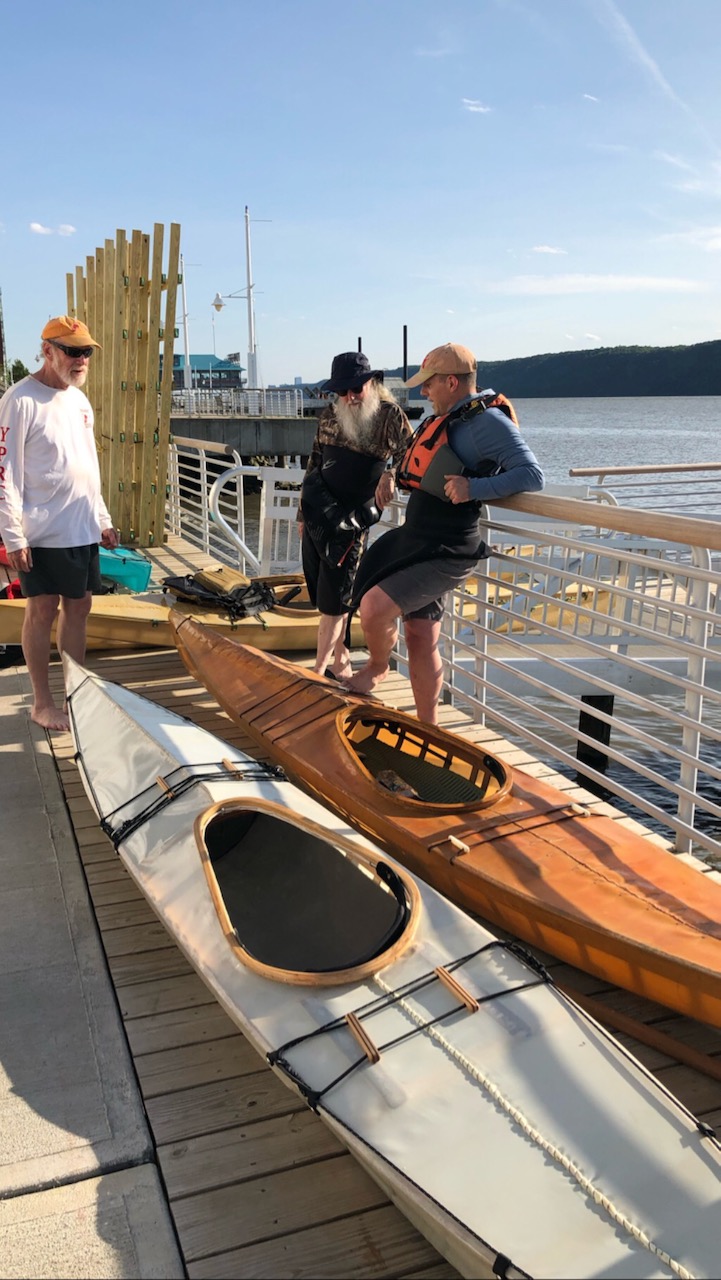
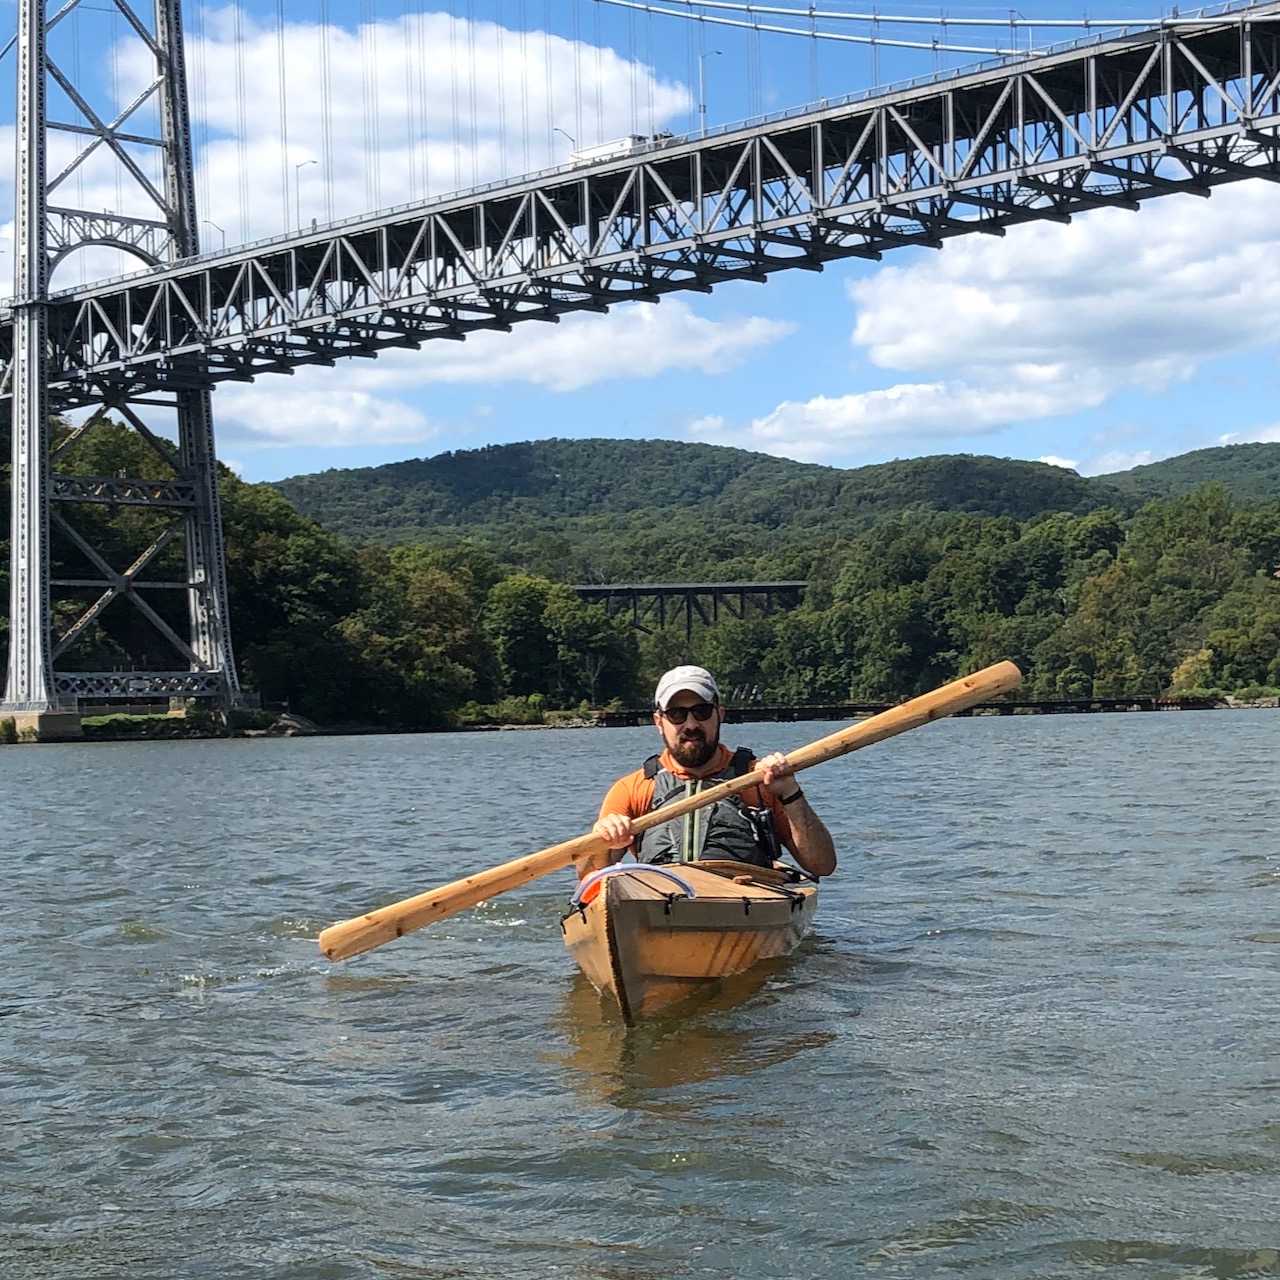
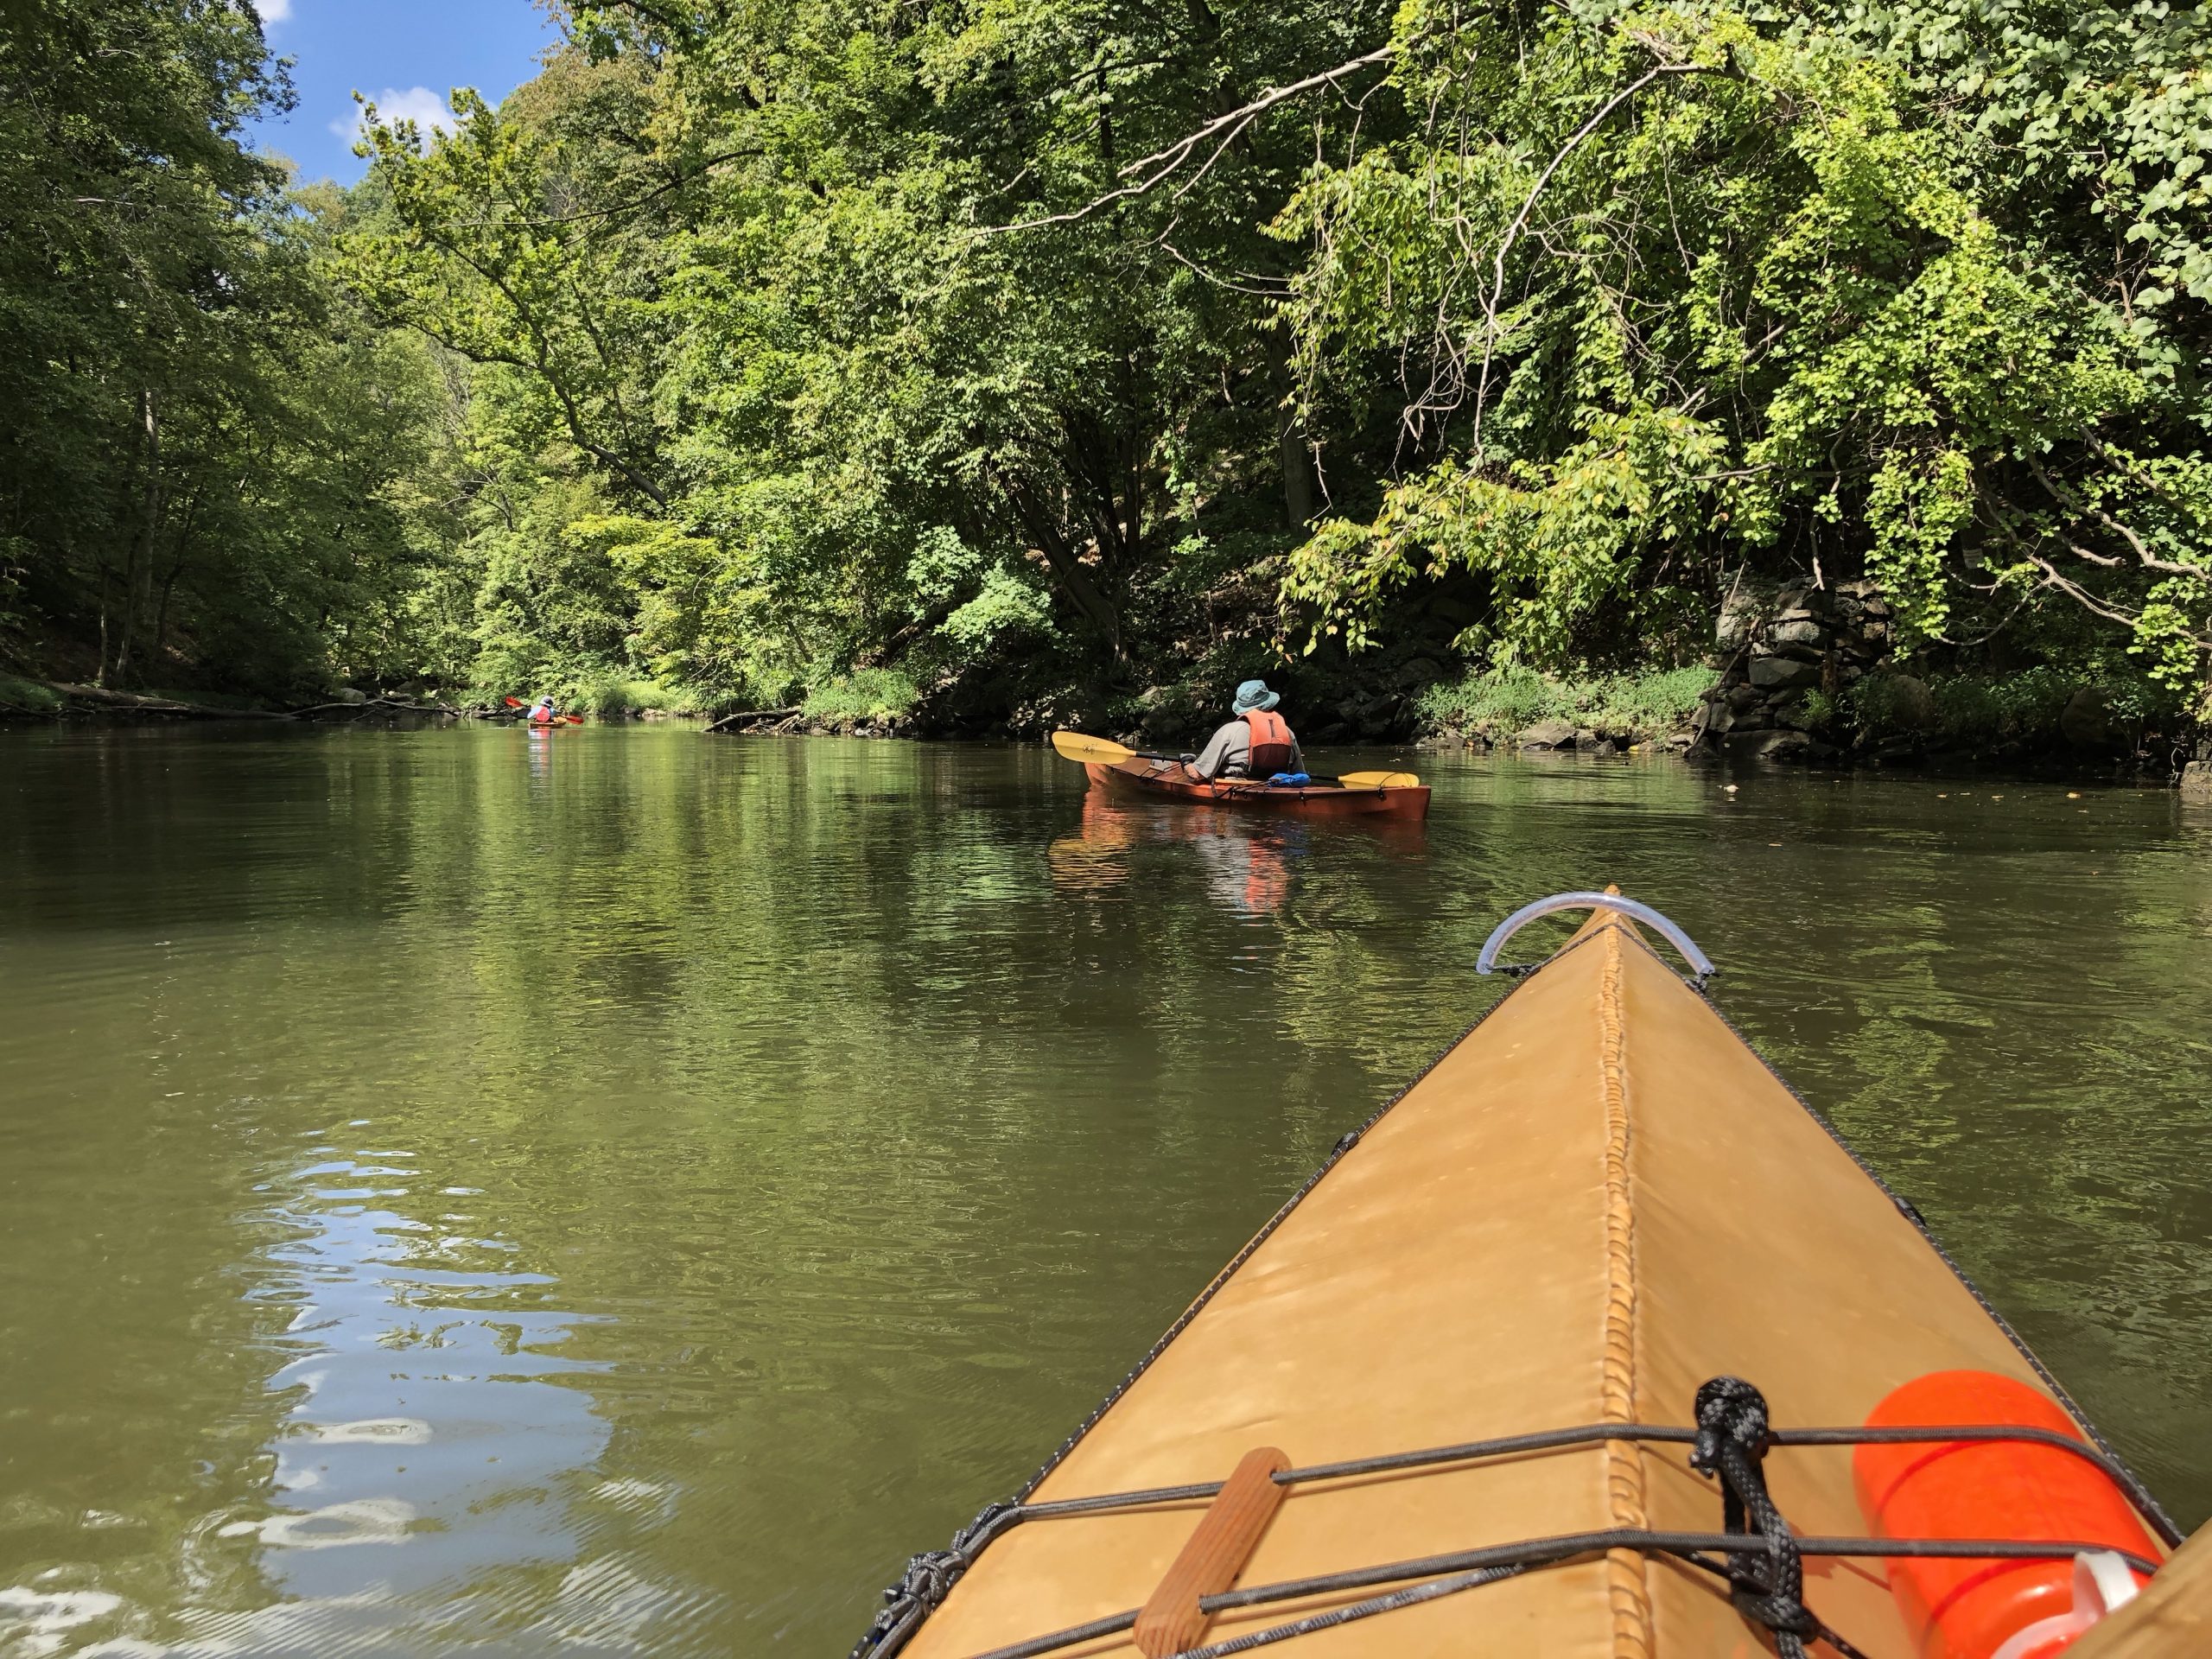
Amanda and I absolutely love our kayaks and take them out regularly, both on the Hudson and inland lakes. I get a ton of joy every time we use them. Paddling in something that you built yourself and know every single part of just can’t be beat.


Leave a Reply